Coasters for people who helped me during my PhD
This page is for people who received a coaster as a gift for helping, mentoring, and/or guiding me during my PhD. I specifically made these for people who positively impacted the trajectory of my life. You literally changed my life - seriously!
These coasters don’t look like much (despite my best efforts), but creating them was a bit of an adventure that I’ll document here. As with many of my side projects, it took way longer than expected, was overly ambitious, and came out ~60% as well as I had planned. I am hoping (but not expecting) that their wonkiness comes off as charming ![]() .
.
How I made them
Get some logs
First, I found some logs in Inwood Hill park, just north of our apartment.

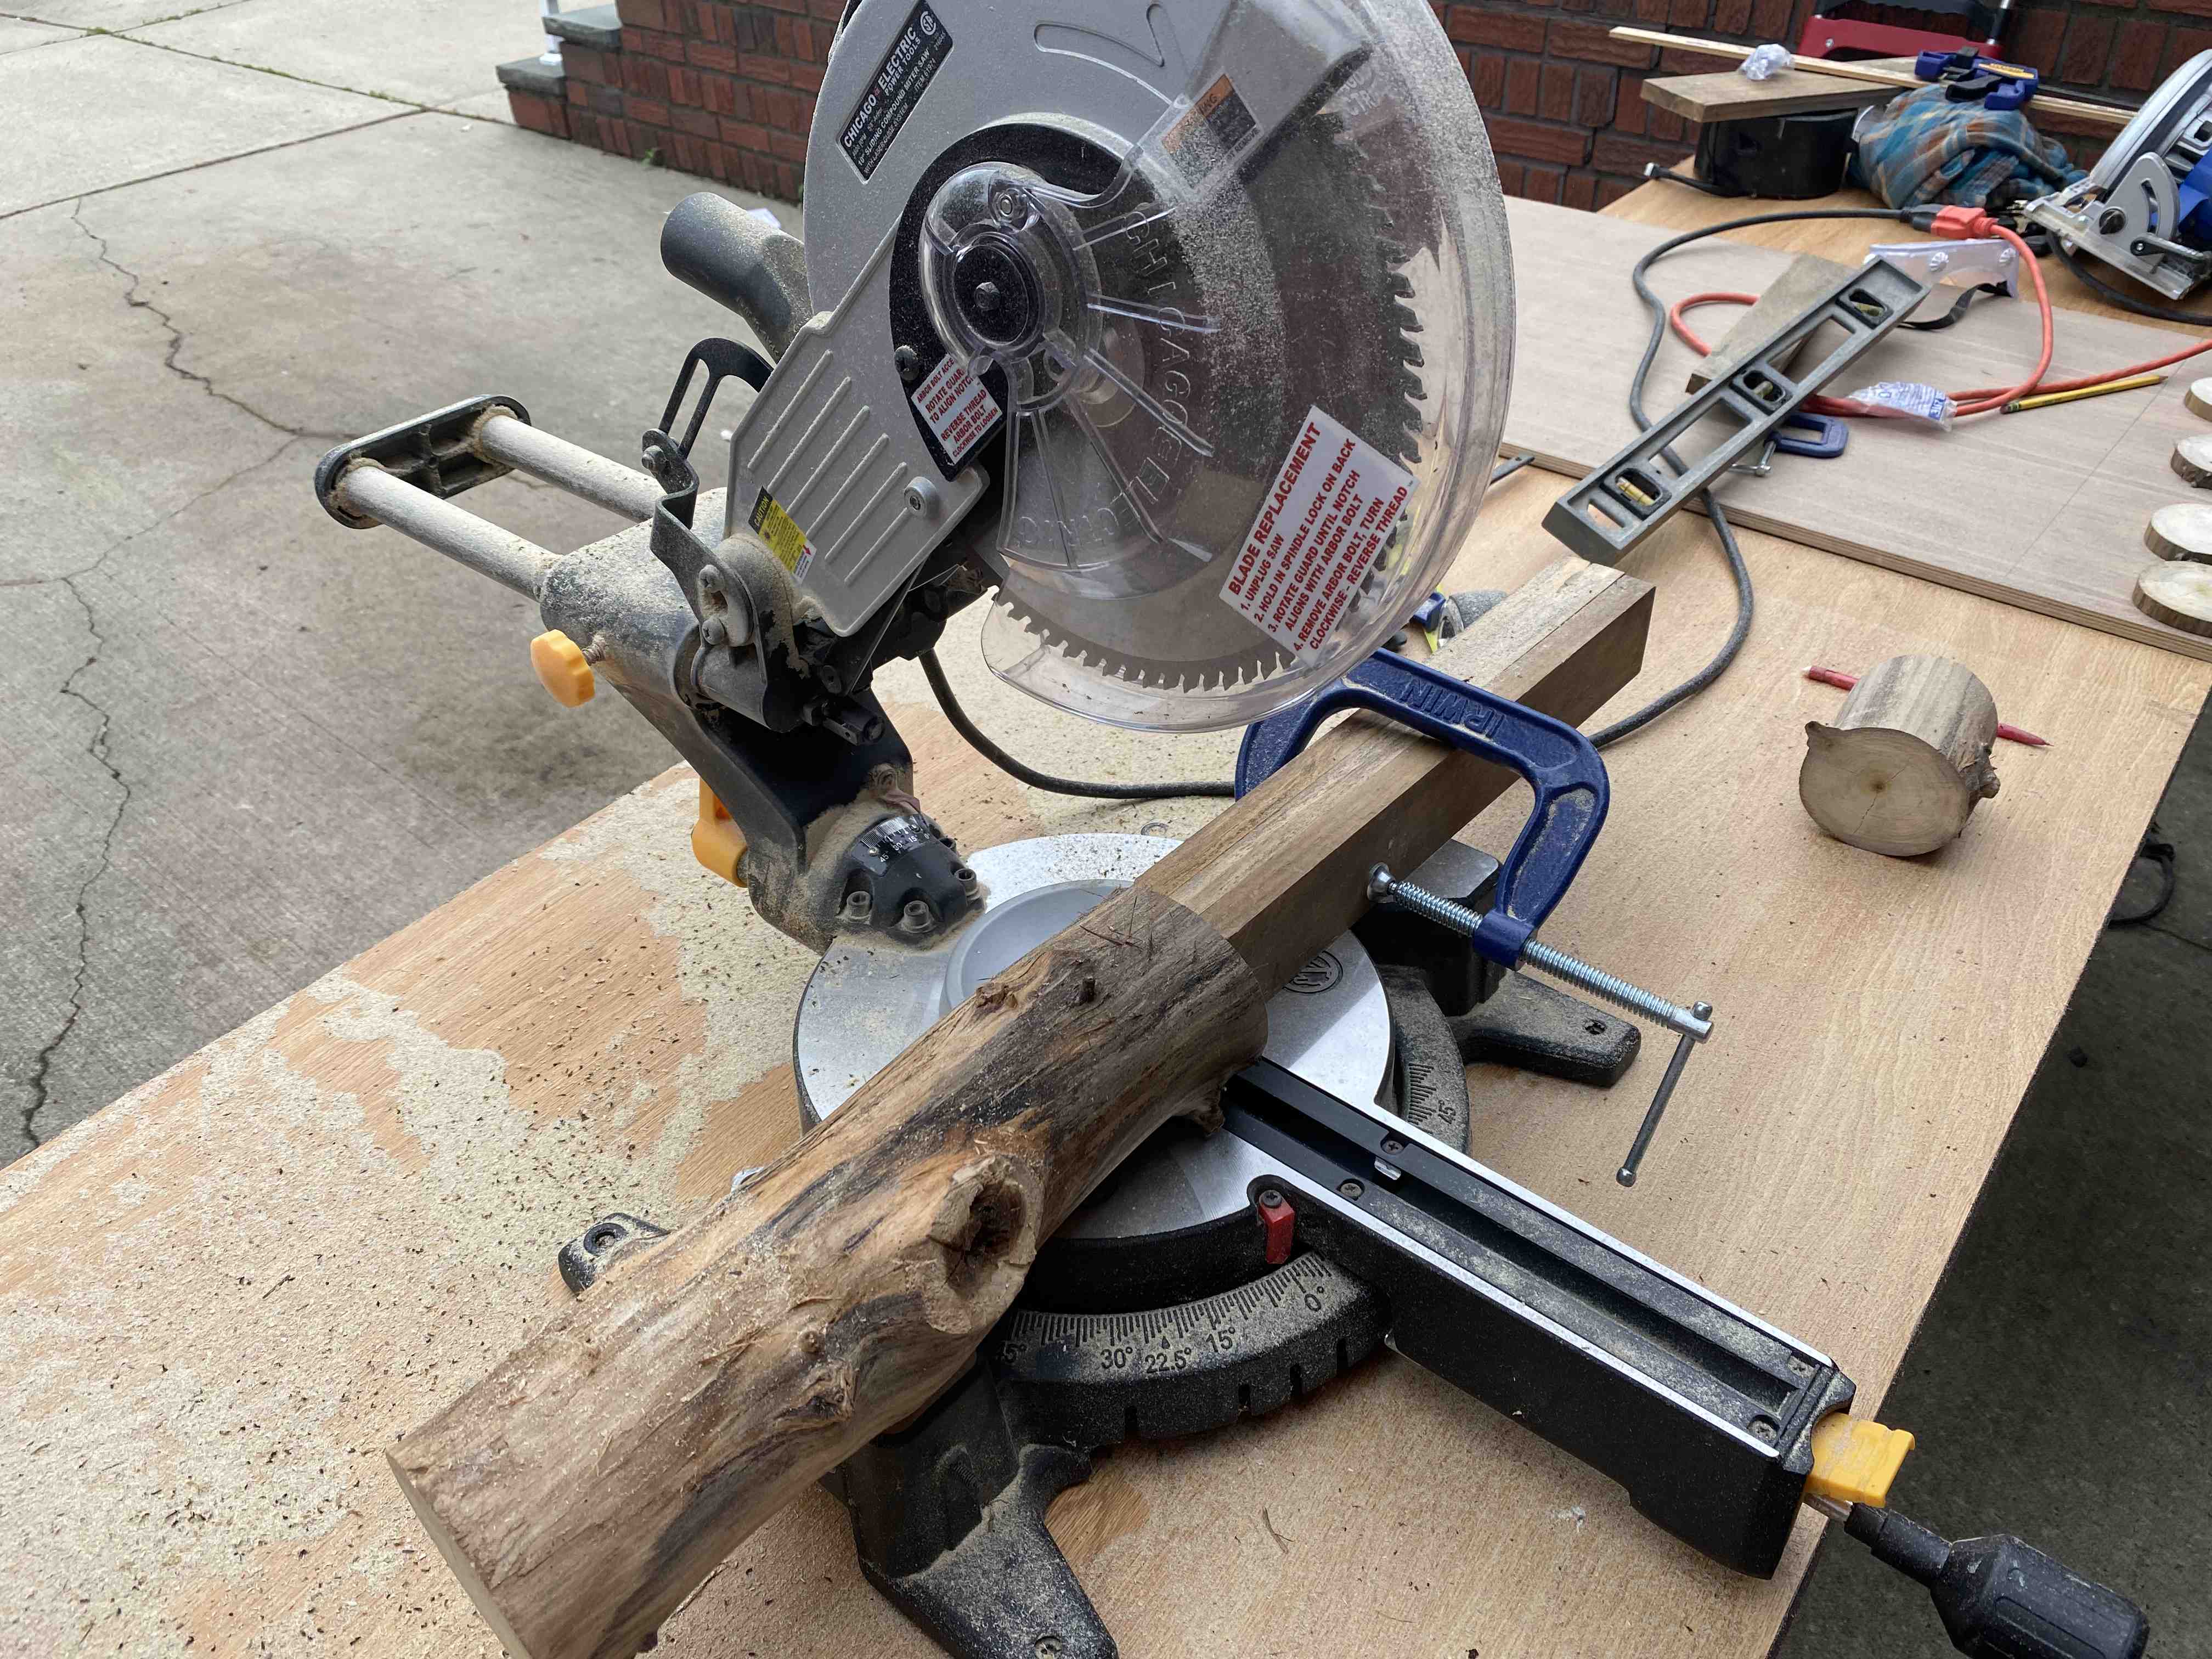
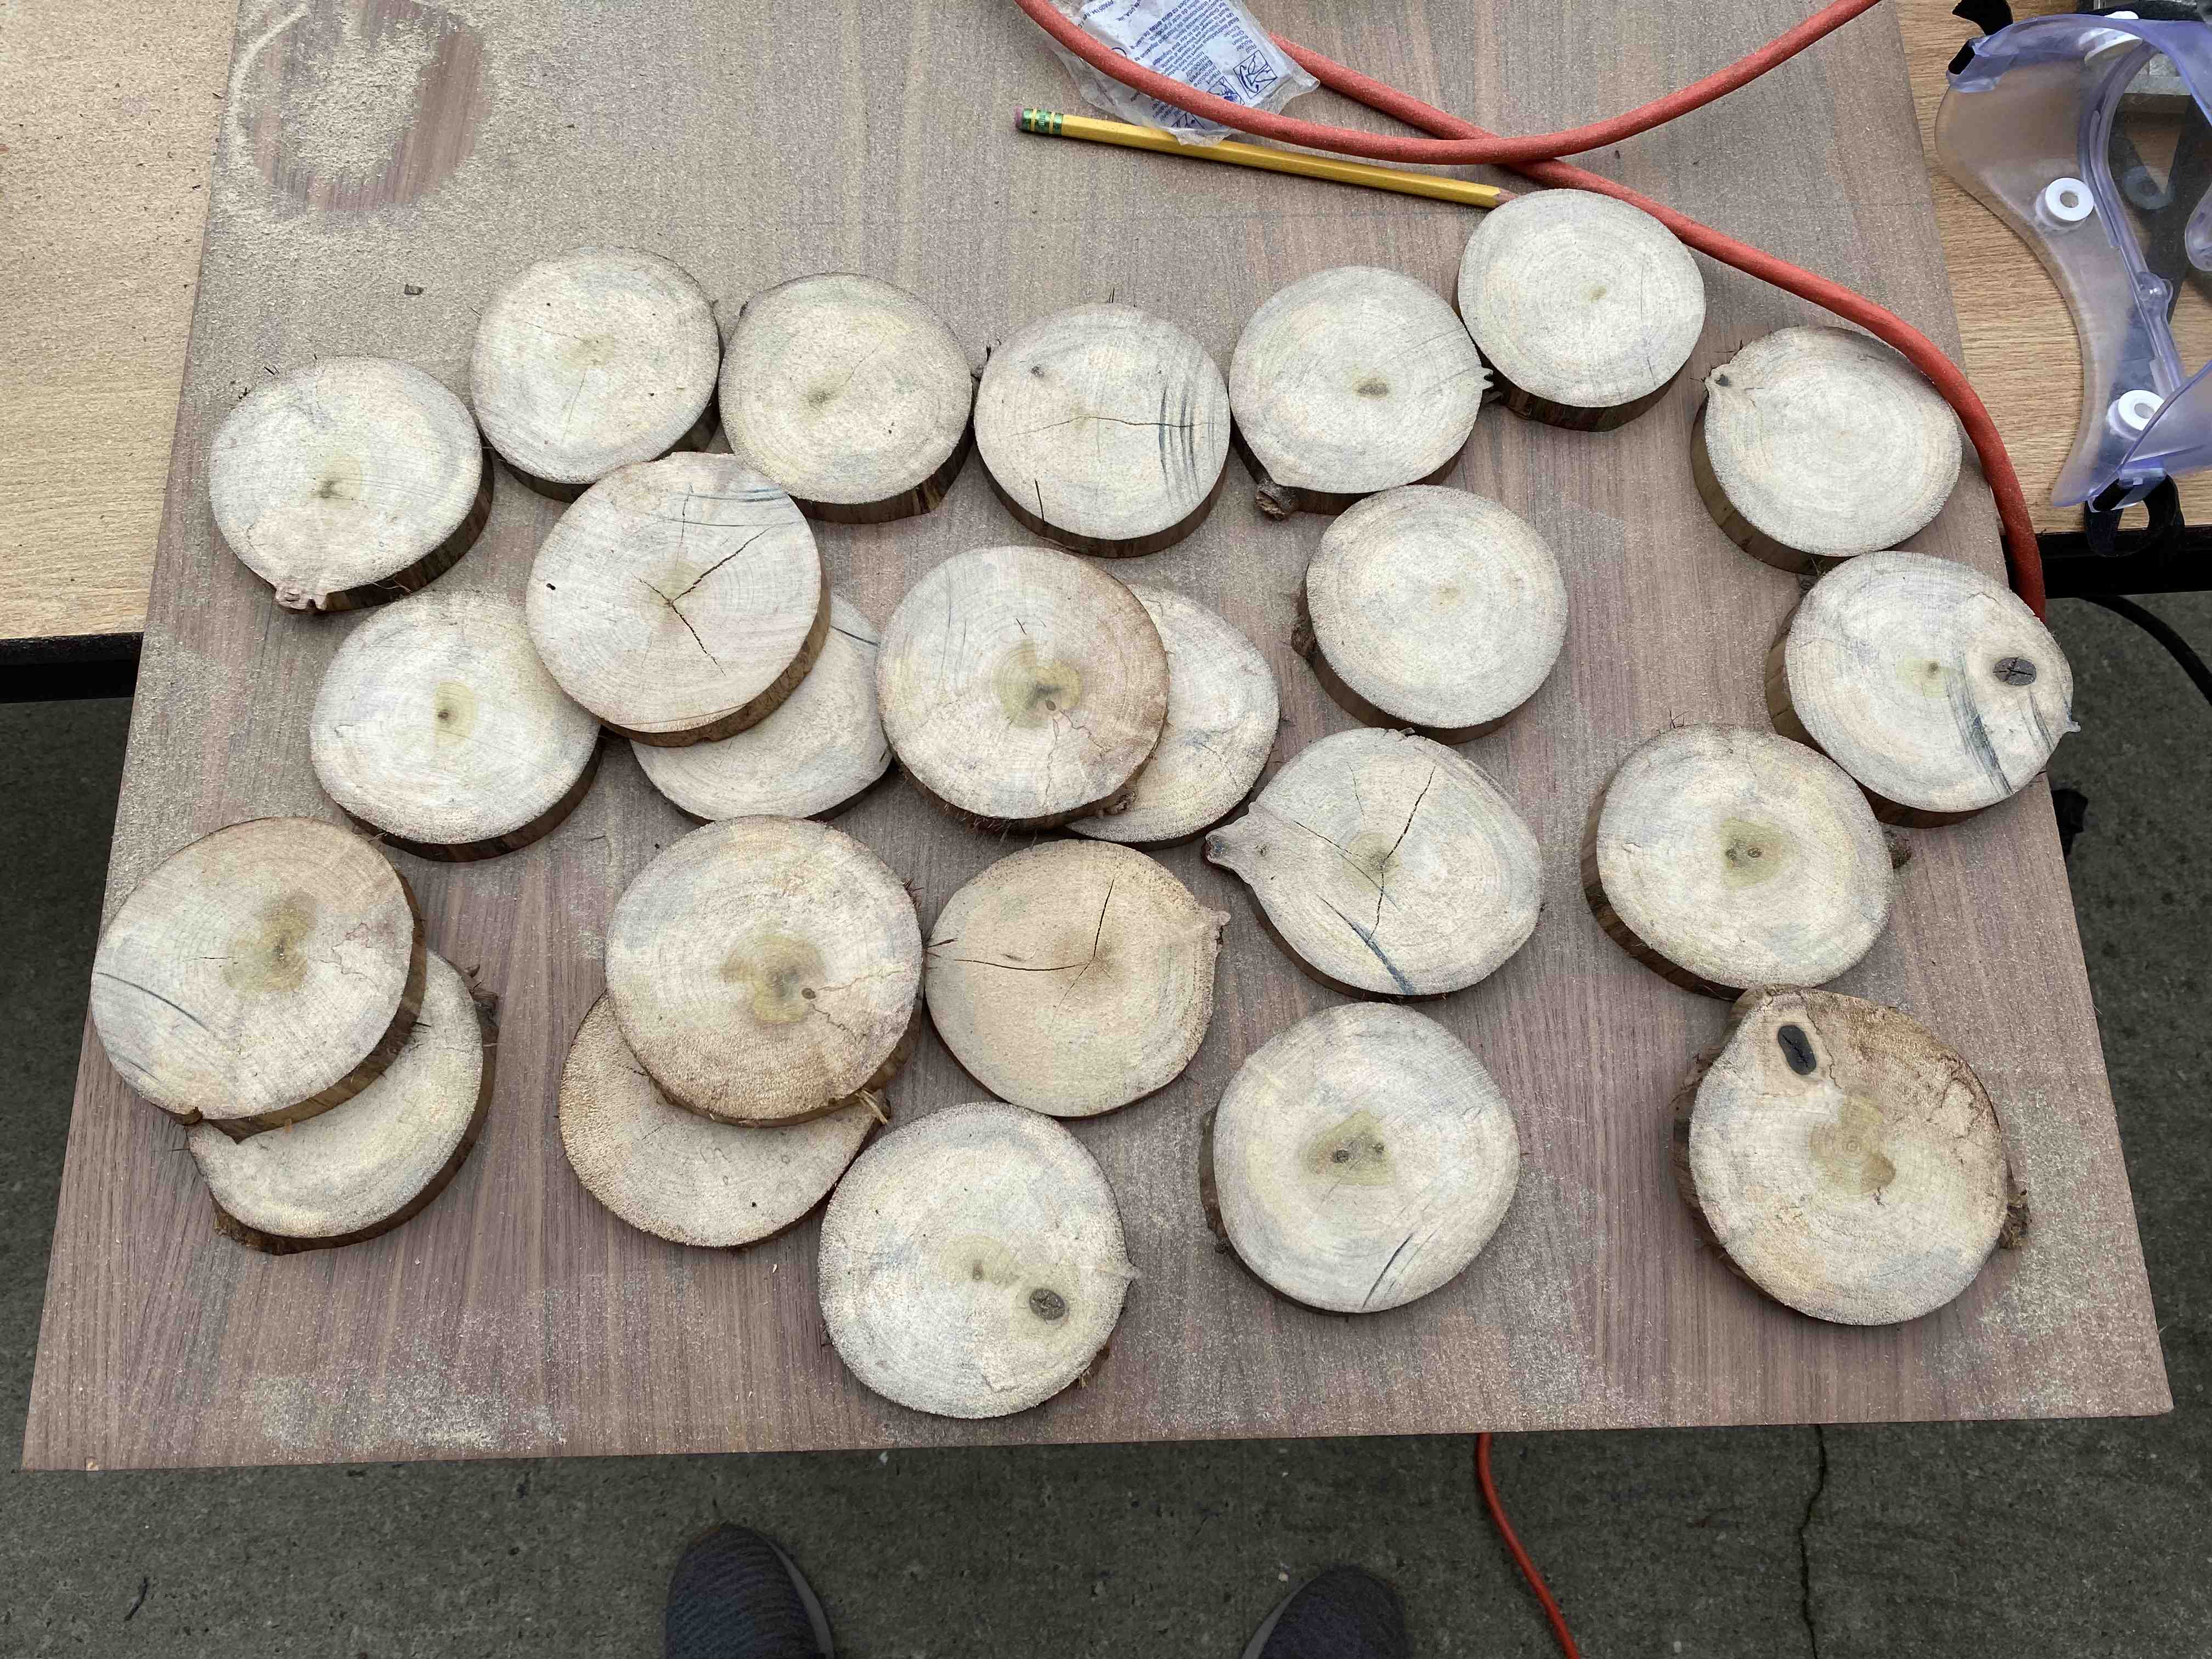
Chop logs
Then I chopped the logs into slices. I did this and several other steps at my brother Tom’s house in Jersey. I’ve tried doing this sort of stuff in my apartment with limited success (dust, noise, etc. in a 1 bedroom apartment is not so fun).
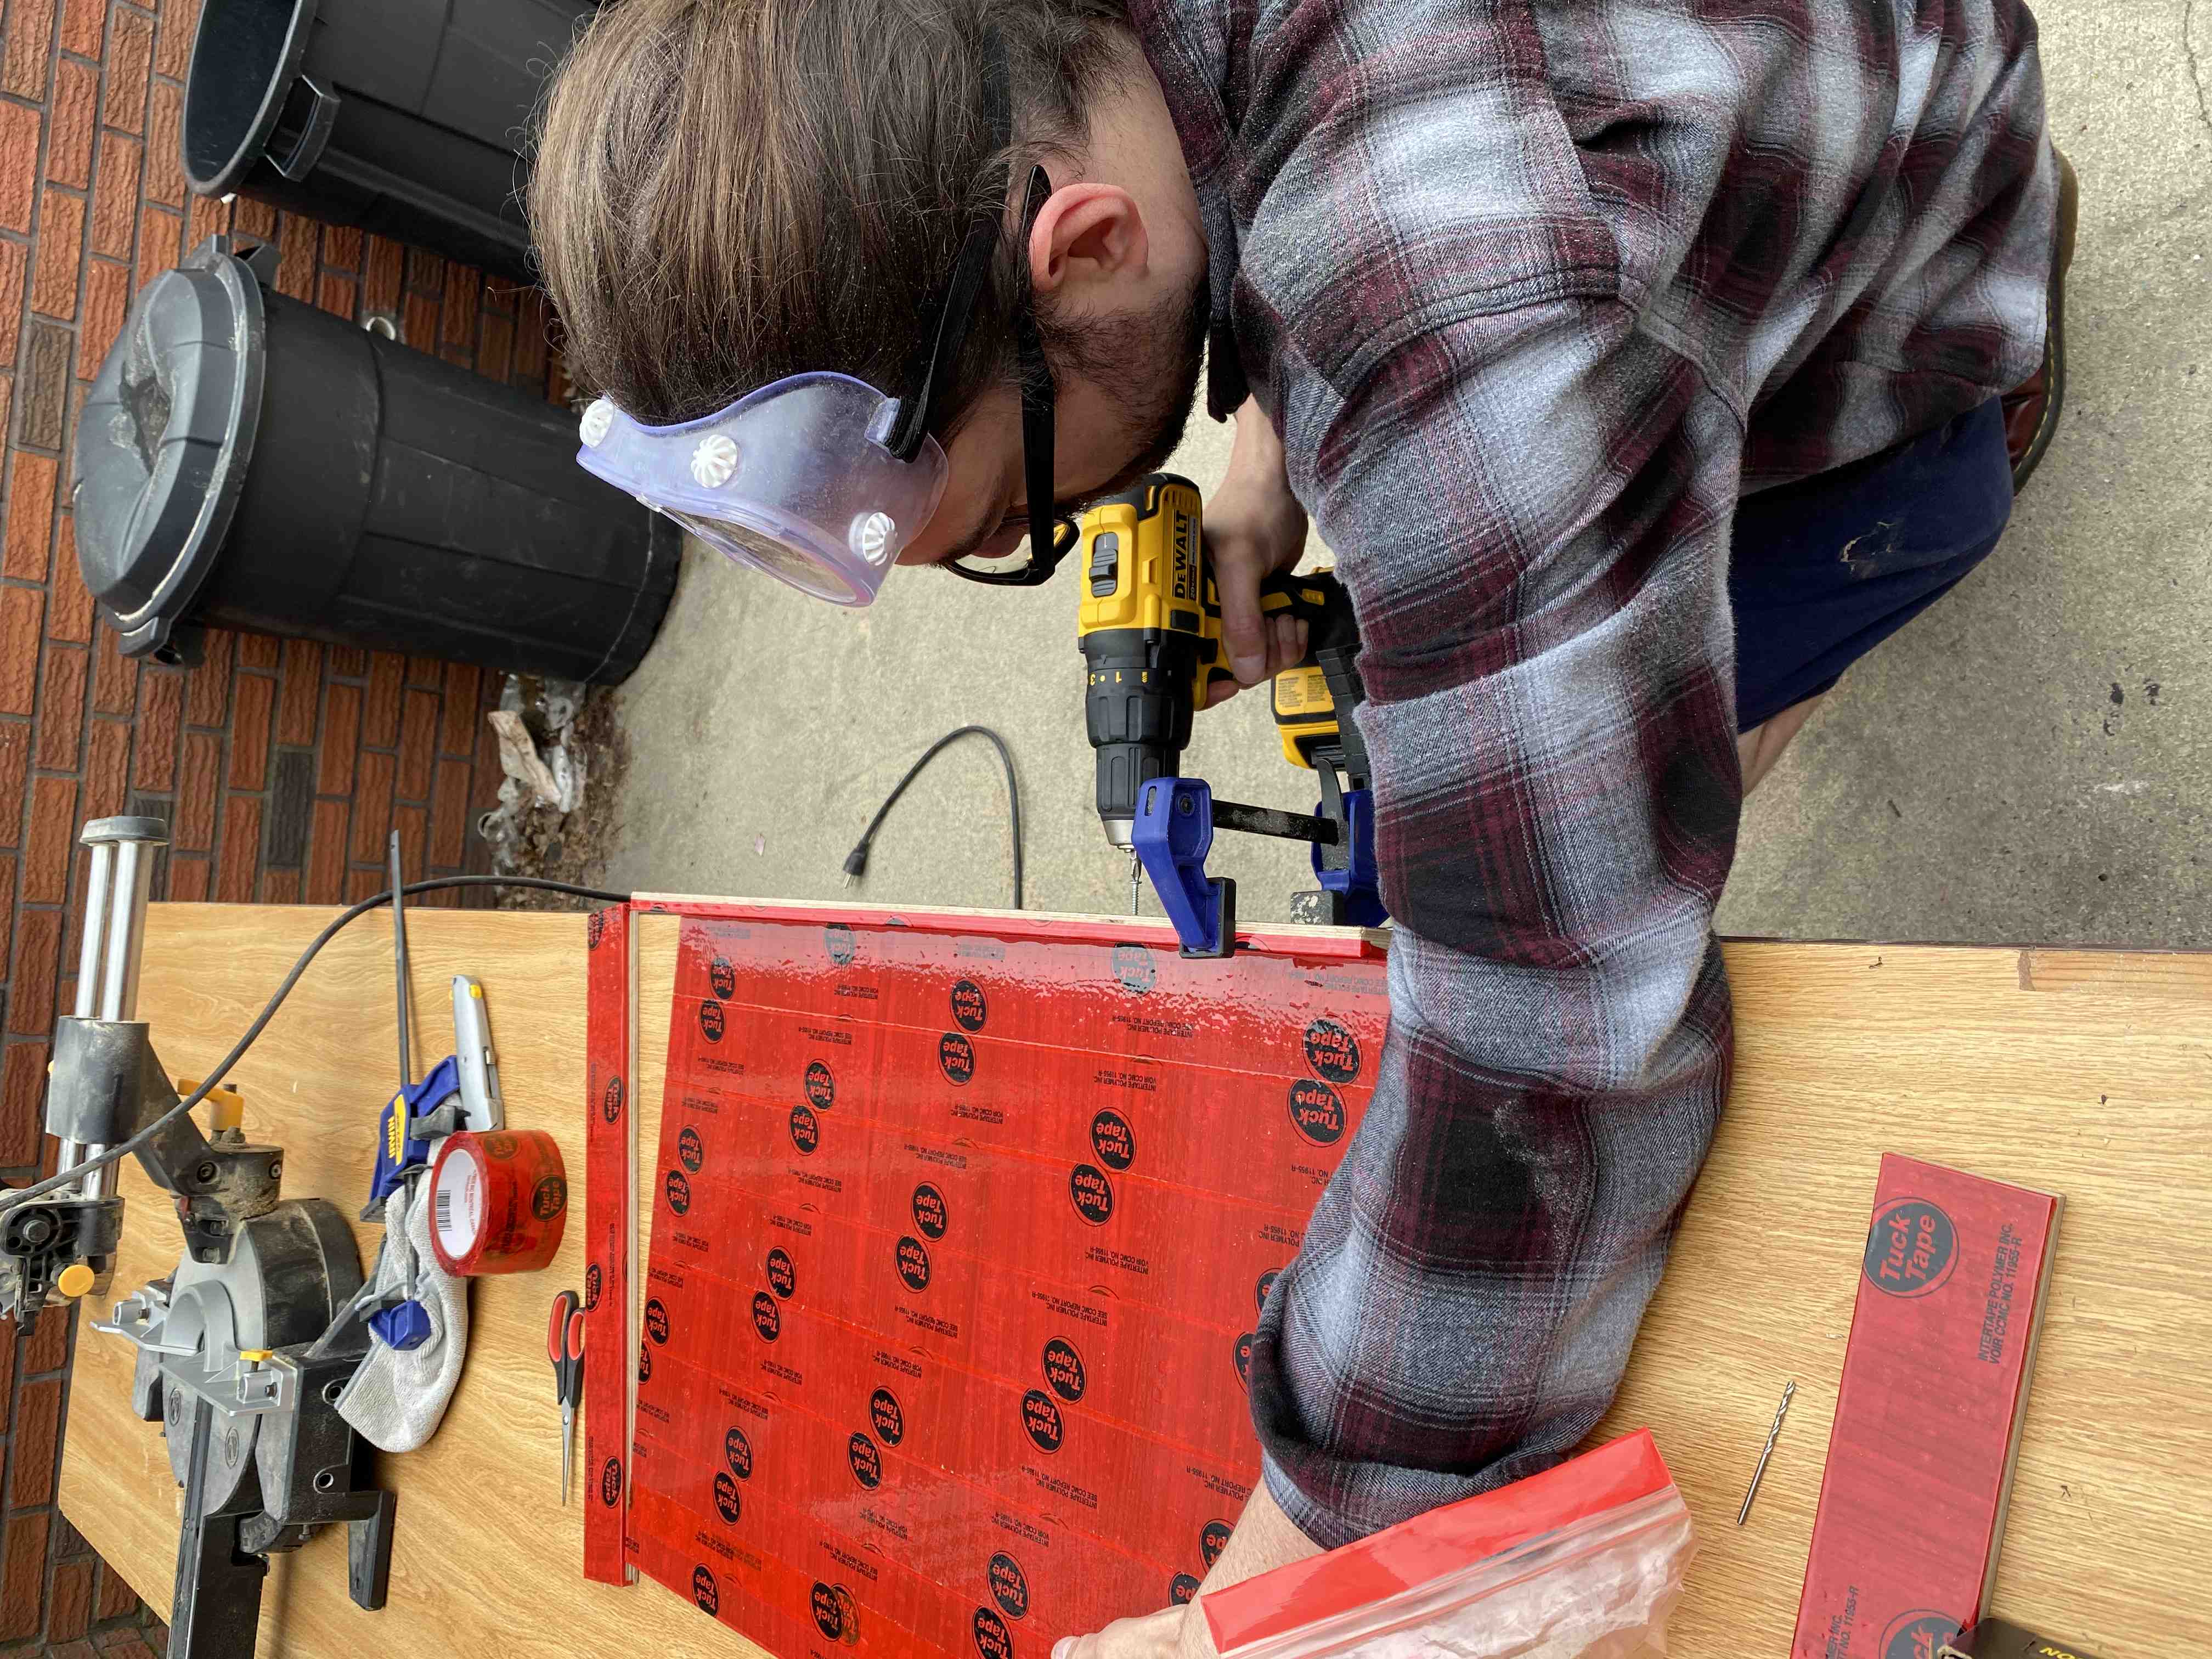
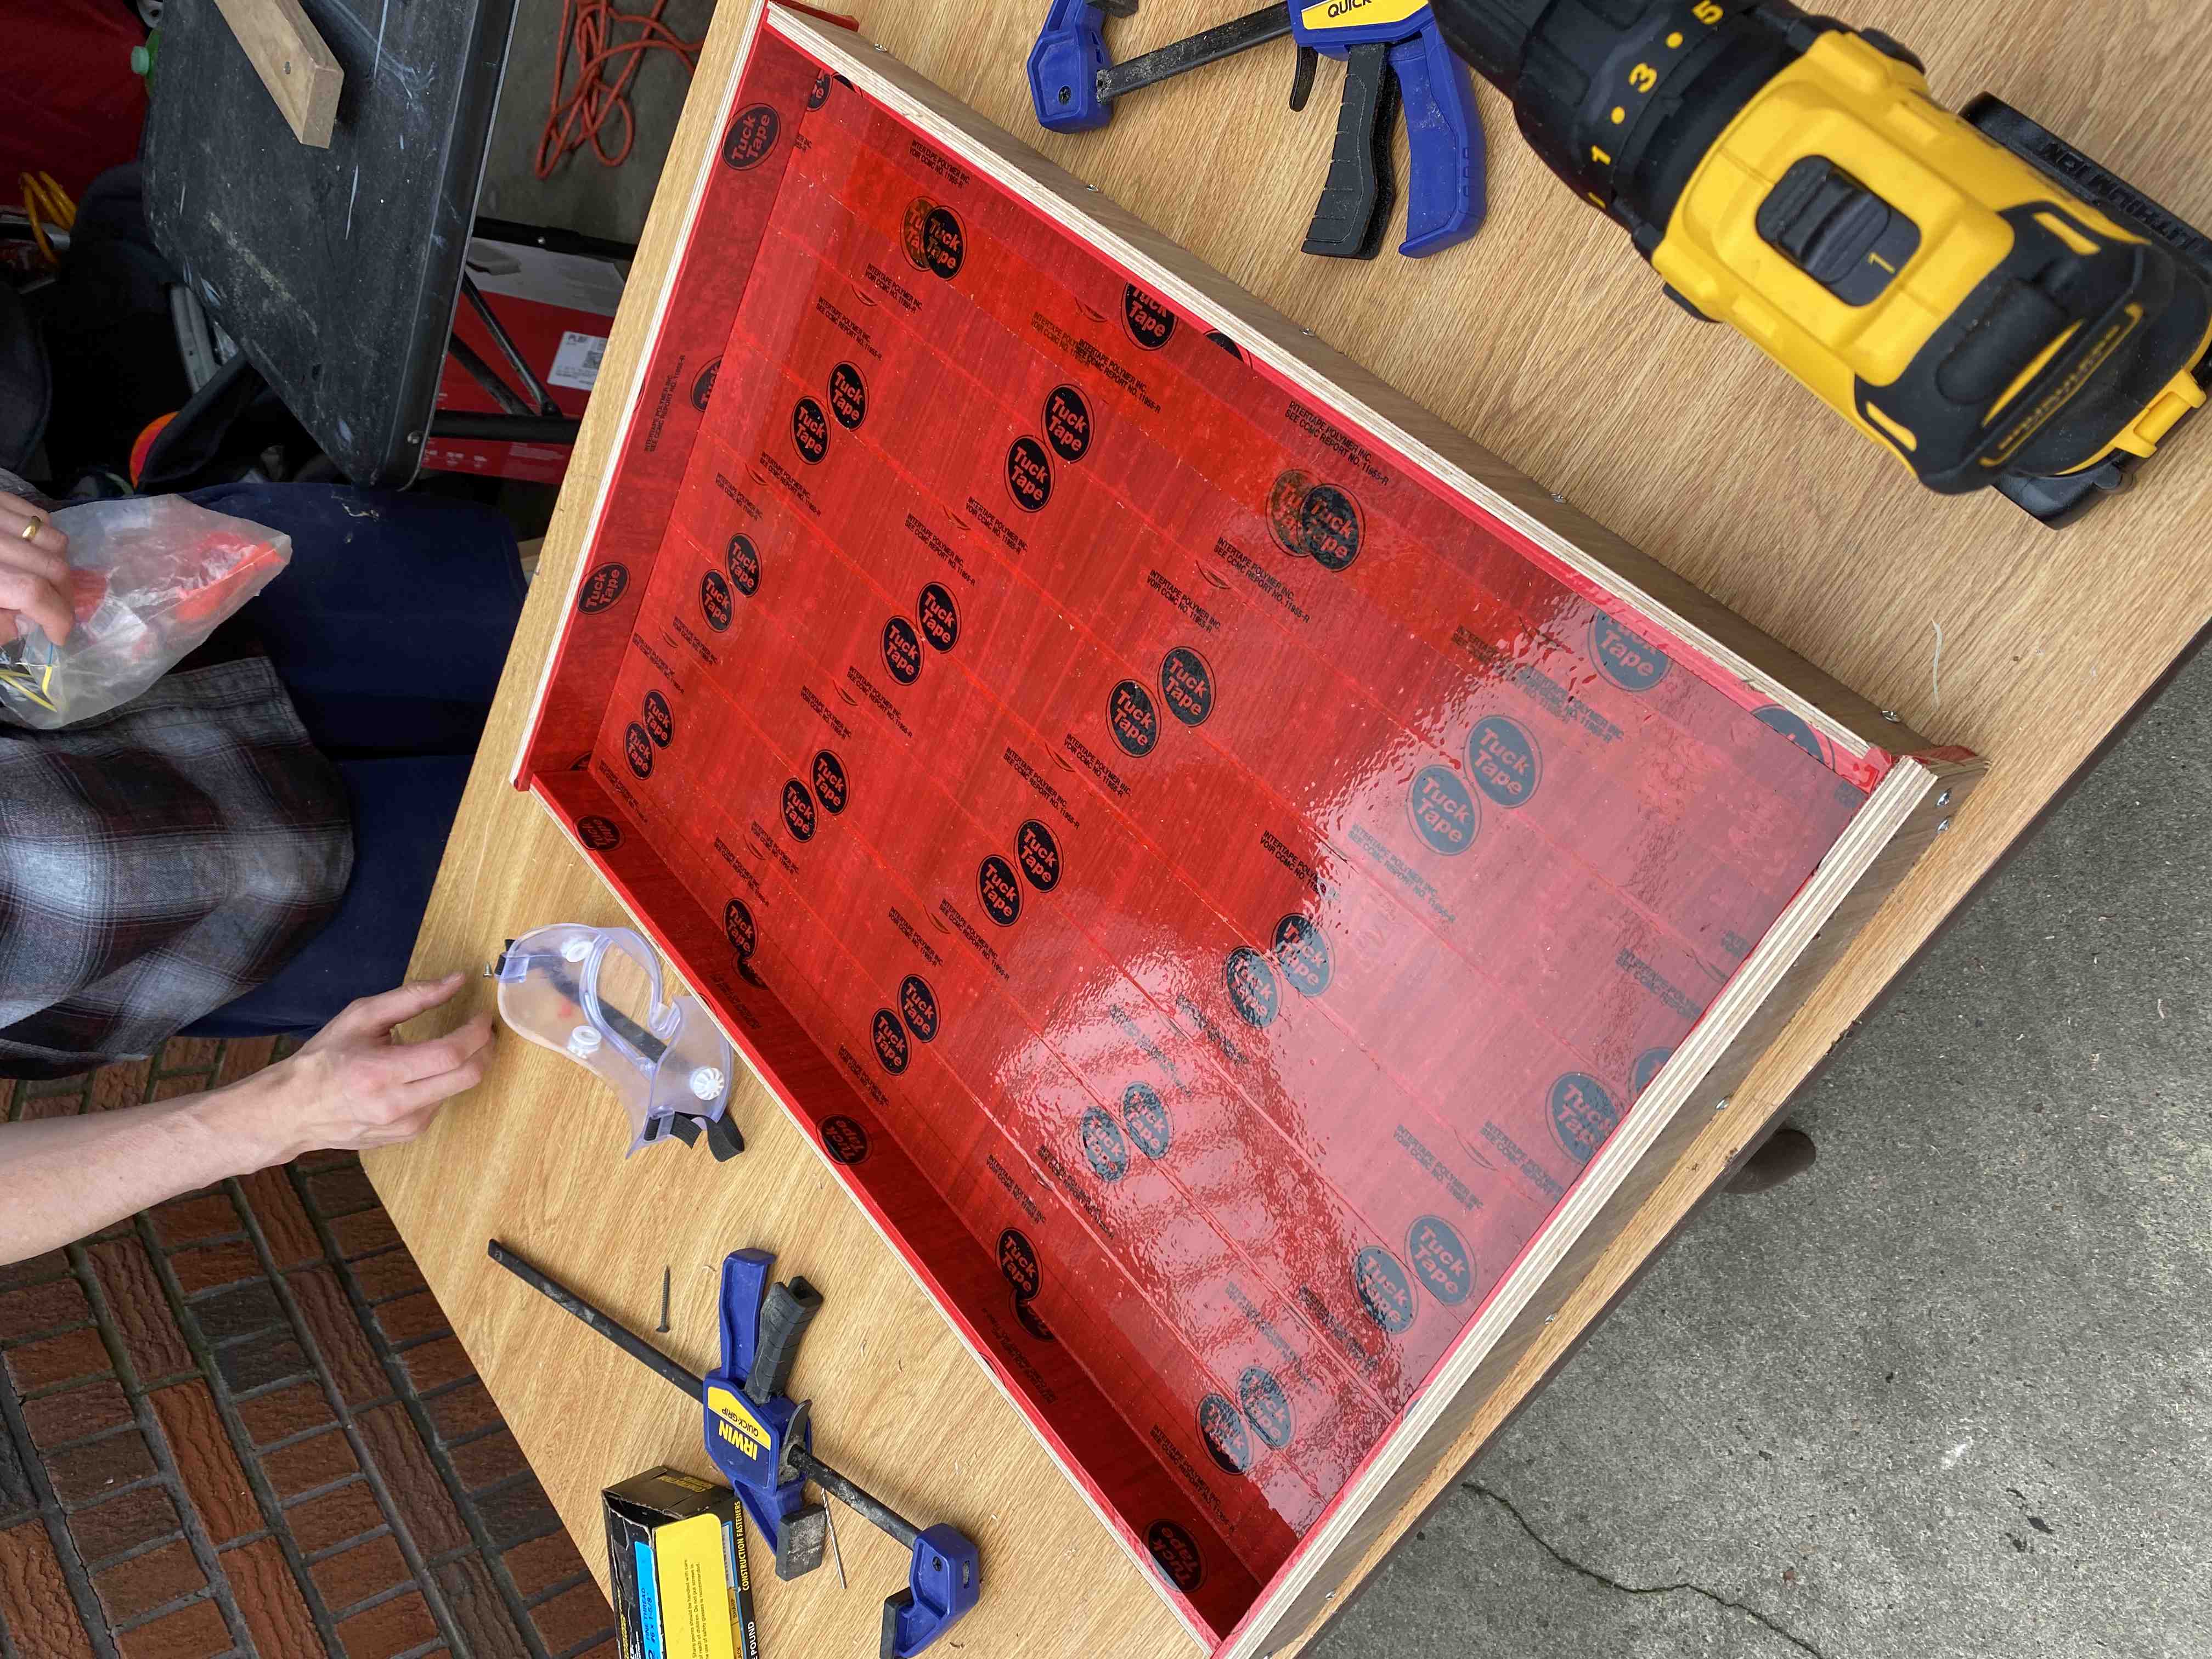
Make a bed
Next, Tom and I made a rectangular bed in which we’d lay out the log slices and pour epoxy. We used some scraps he had in the garage, and lined it with this special red tape that epoxy doesn’t stick to when it cures.
Lay out log slices and pour epoxy!
Now the fun part. We laid out the log slices in the bed, mixed up this epoxy, added some blue pigment, and poured it in!
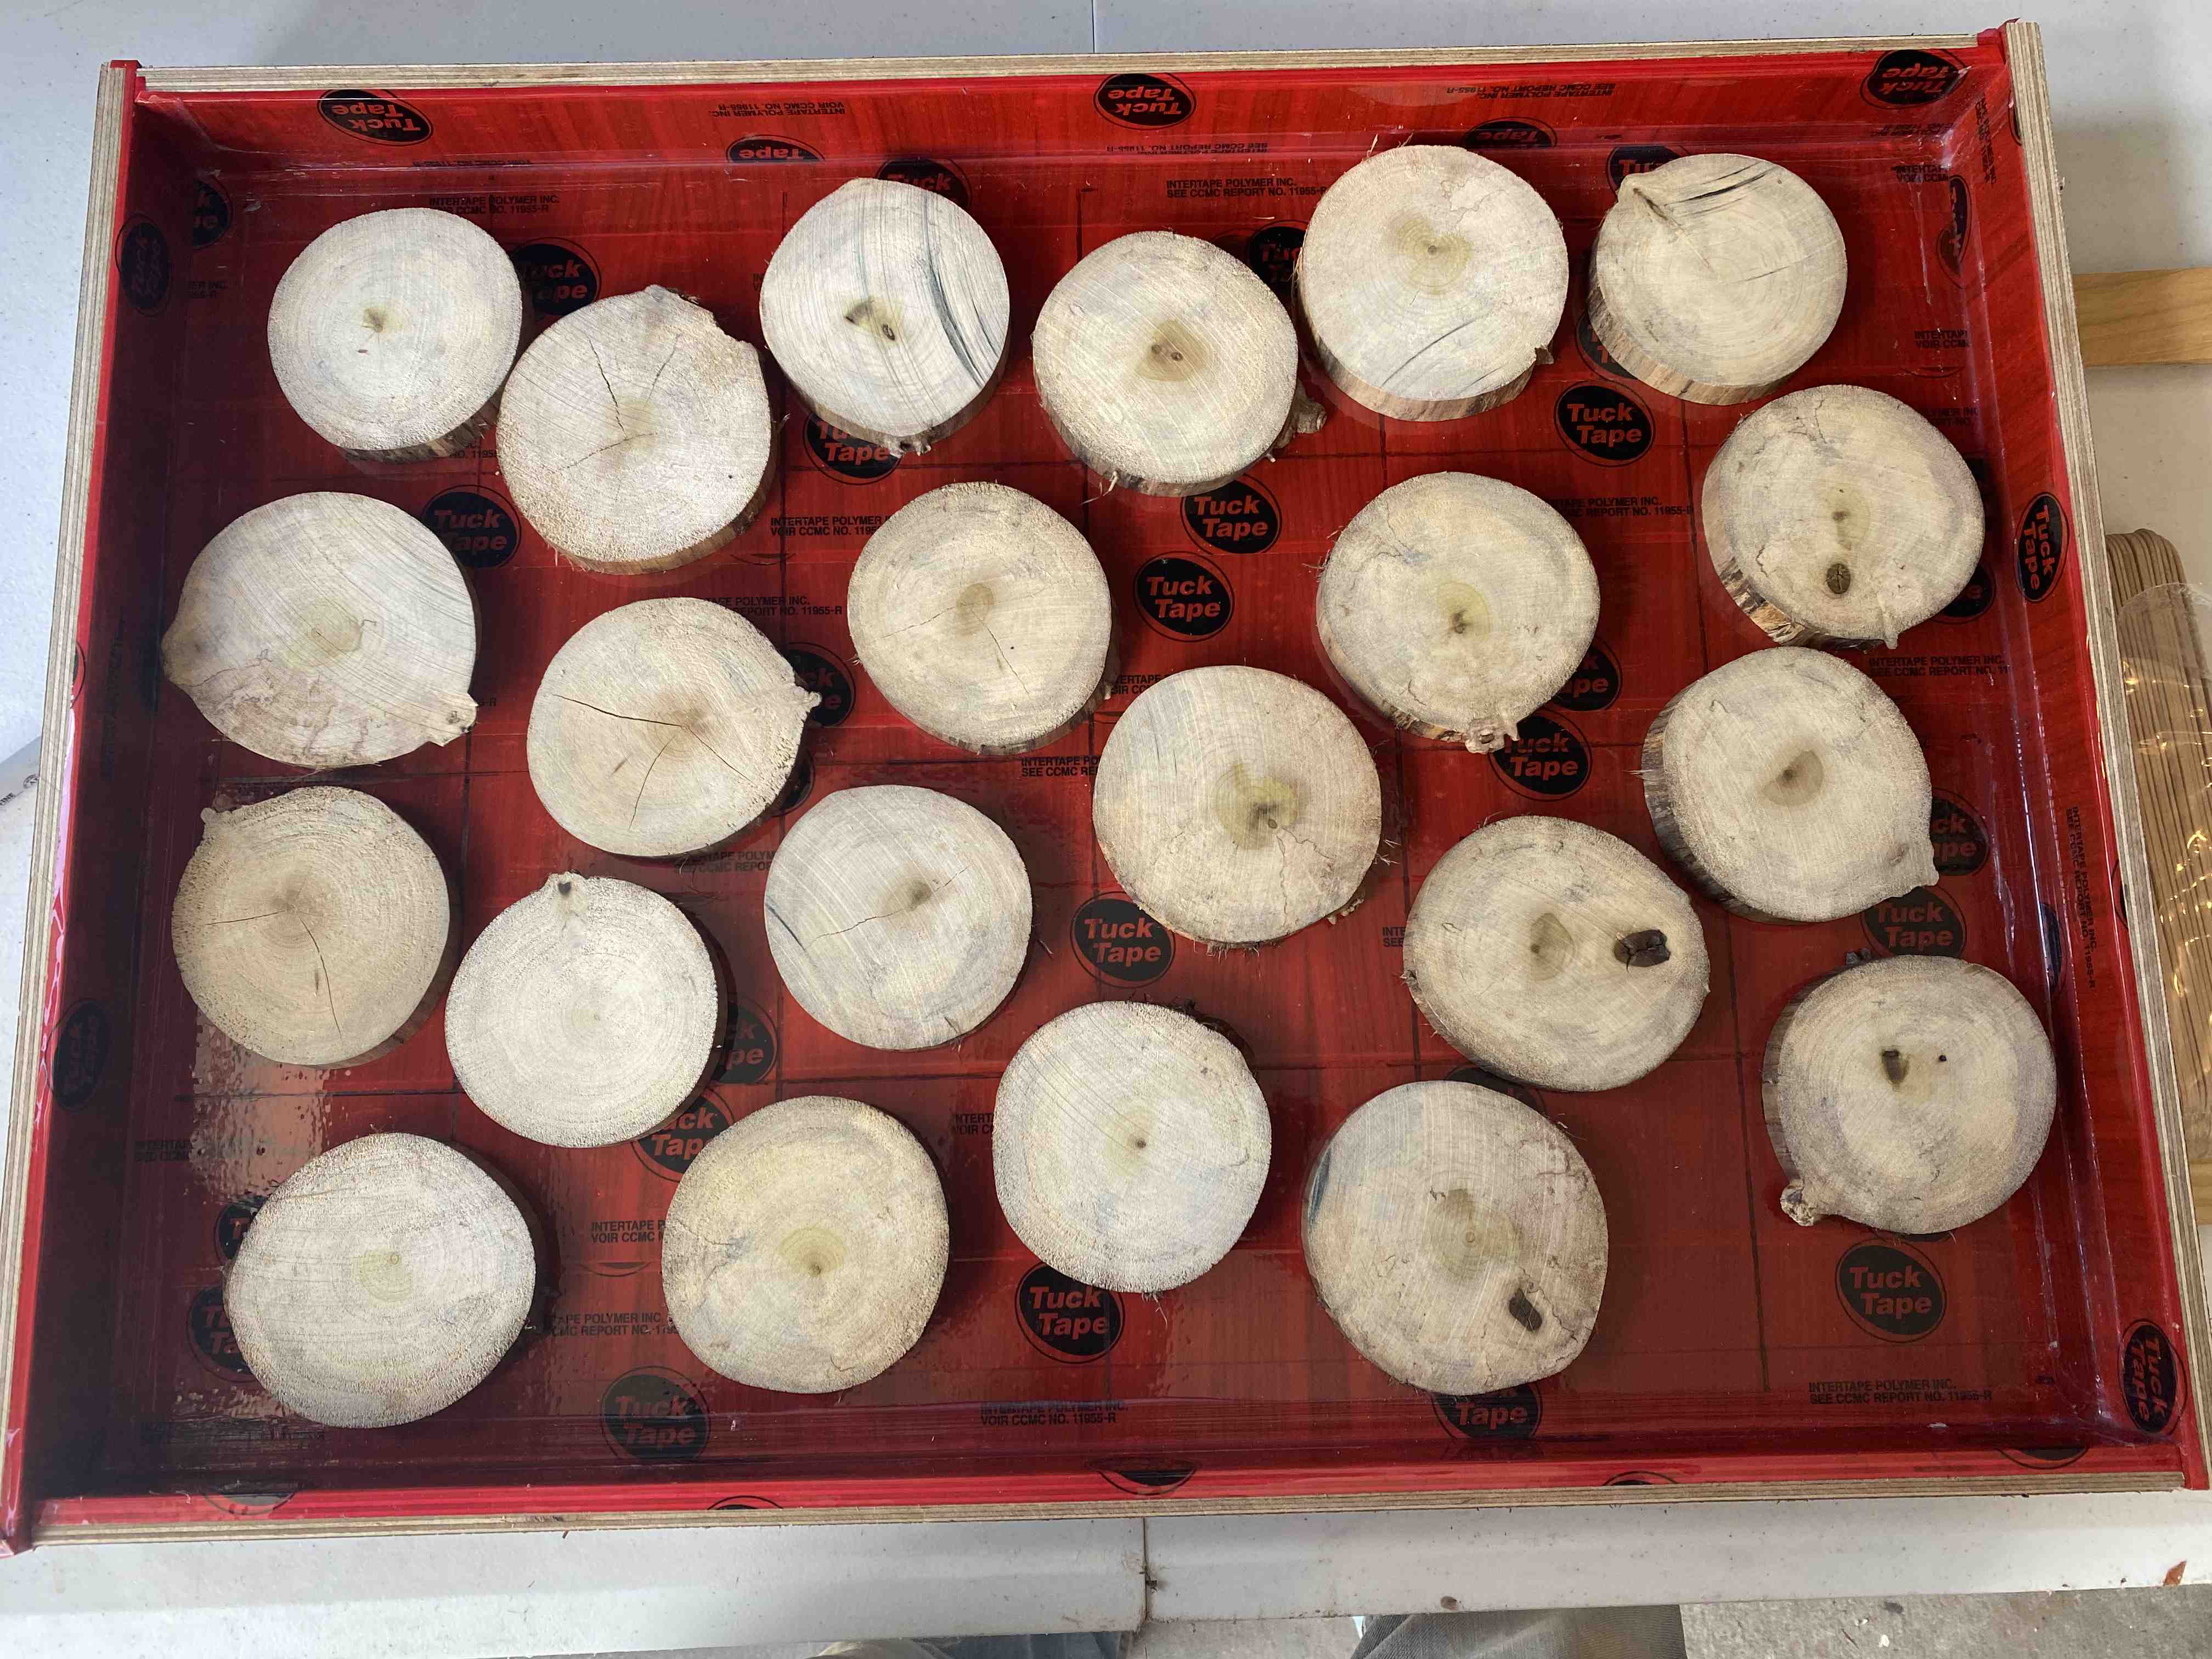
After the first pour it looked like this:
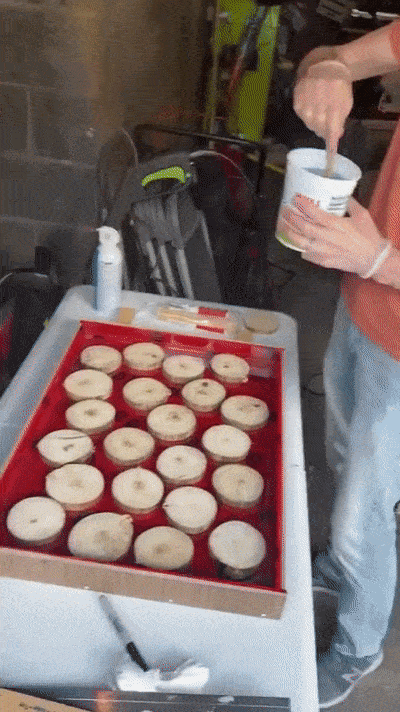
Pop bubbles
Epoxy has tons of bubbles, which can be removed by applying heat. We picked up this heatgun for that purpose. In subsequent rounds I used bupane torches, but they kept dying on me, so there are sadly more bubbles than I was hoping for in the final product ![]() . Let’s call this an “artistic choice.”
. Let’s call this an “artistic choice.”

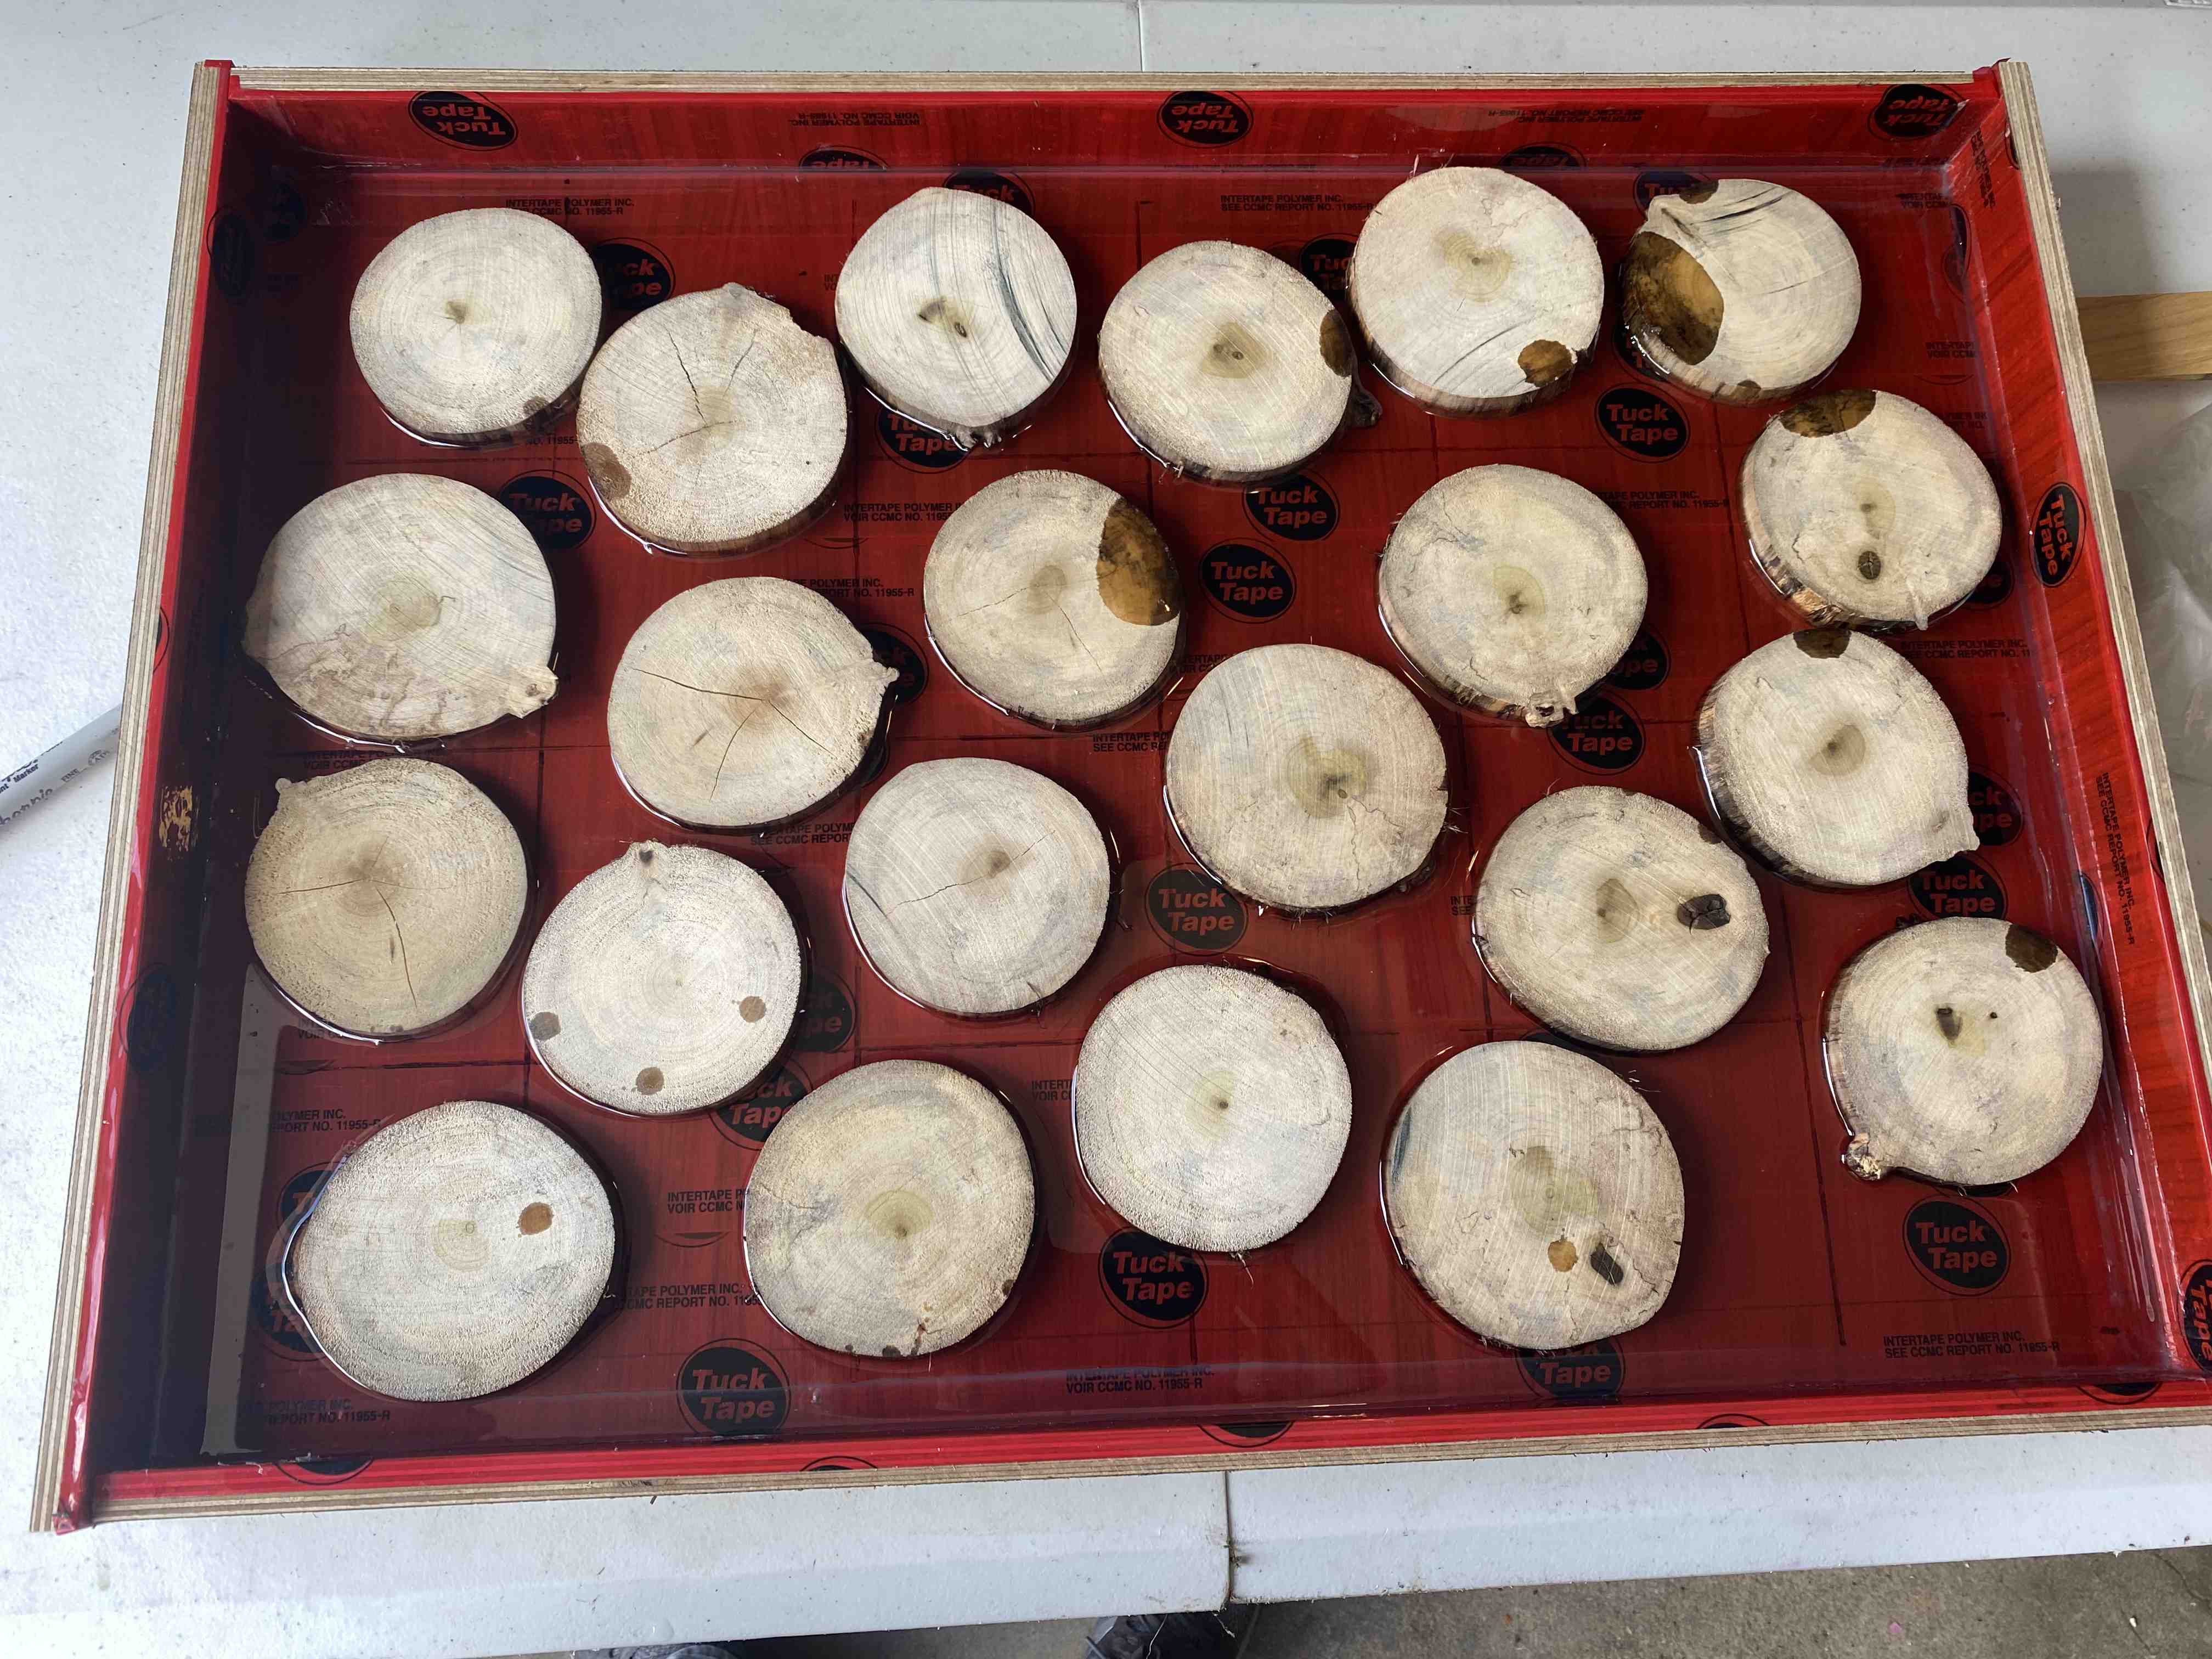
Add decorations and more epoxy
I didn’t take pictures of this step. The first layer of epoxy was only half the thickness of the coasters, which meant I could add some decorations before the second layer of epoxy. I grabbed some leaves and twigs from the curb and arranged them on top of the first layer of epoxy. I also added the golden letter stickers that spell out all of your initials. I then poured a second layer of epoxy to embed all of these decorations.
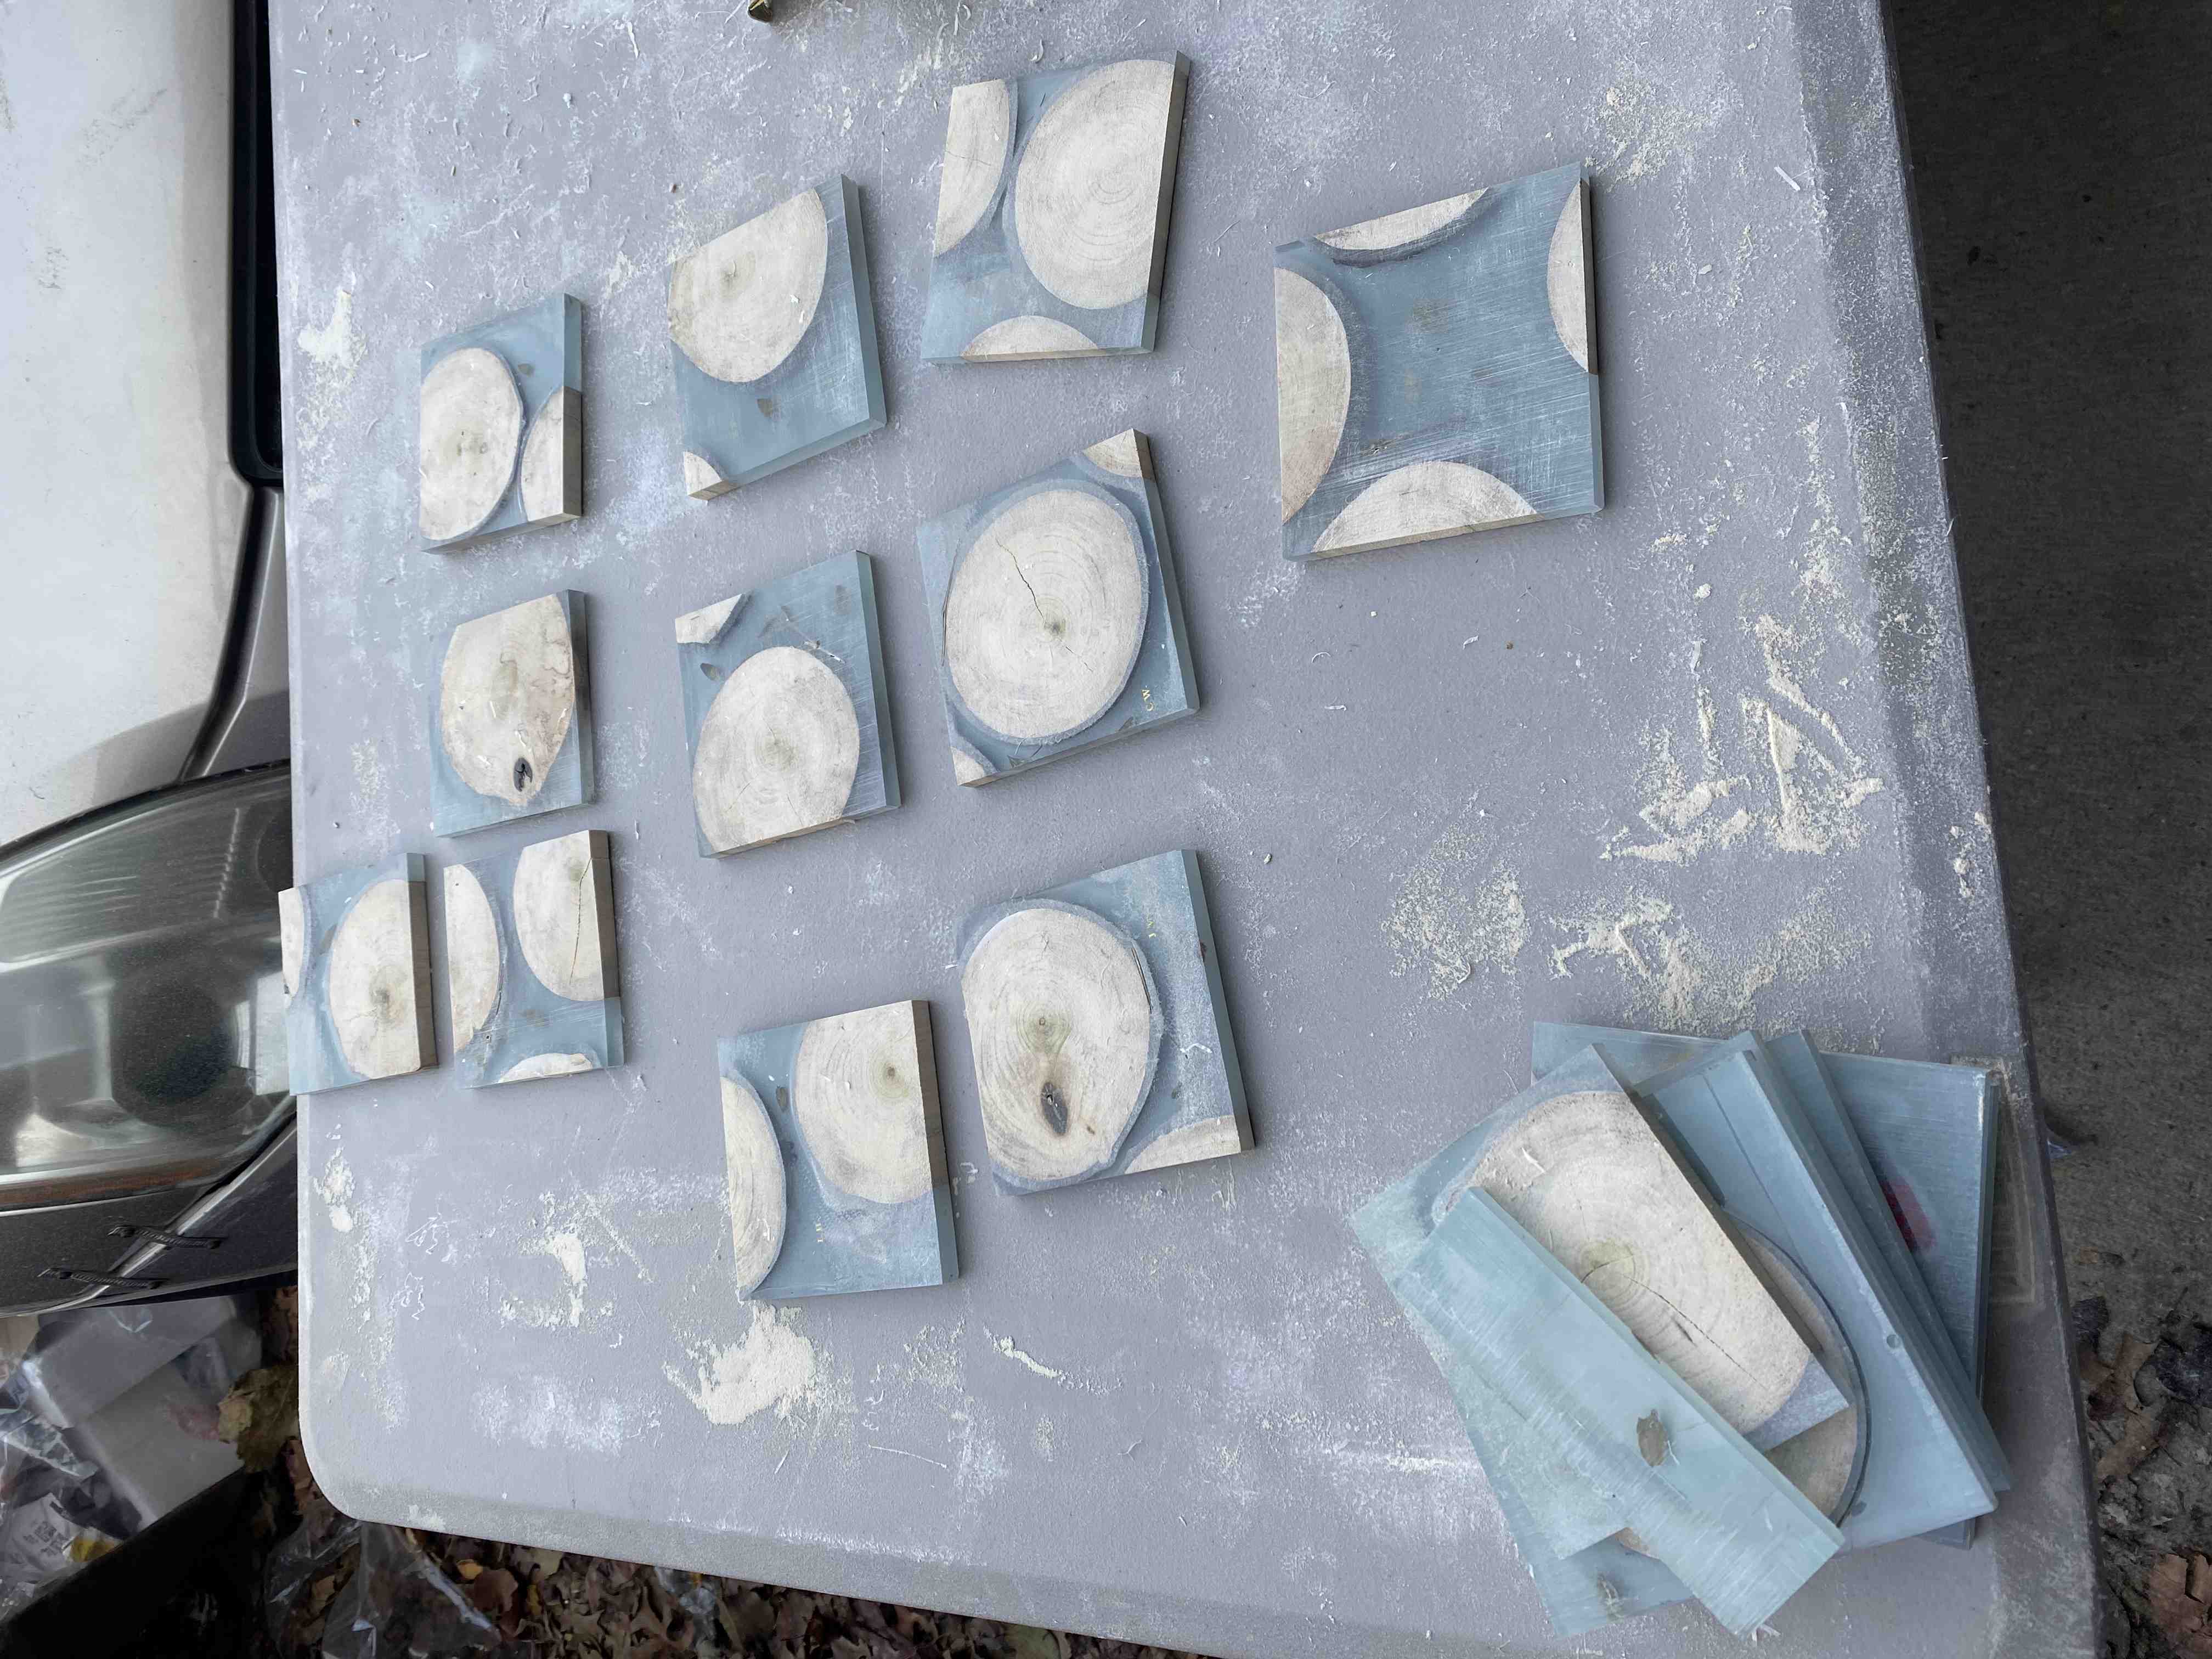
Cut into squares
Next, I removed the sheet of epoxy, which now had log slices embedded in it, from the wooden bed. I cut it into squares. At this point the logs were still protruding above the surface of the epxoy a bit. It took a lot of sanding to get them relatively flush with the epoxy (I broke Tom’s belt sander in the process ![]() ).
).
Coat top and bottom in epoxy
This part gave me the most trouble. The logs were still exposed on the top and bottom, so I wanted to coat them with epoxy. The idea was to pour it over the top, let it cure, then pour it over the bottom. more ep However, the epoxy ended up dripping from the top to the bottom (and vice versa), building up as large “drips” on the opposite side. This led to several rounds of fixing the mistakes of the previous round, and each round introducing new mistakes / imperfections. Also, I did this step in my apartment, which meant letting things cure out on the fire escape.
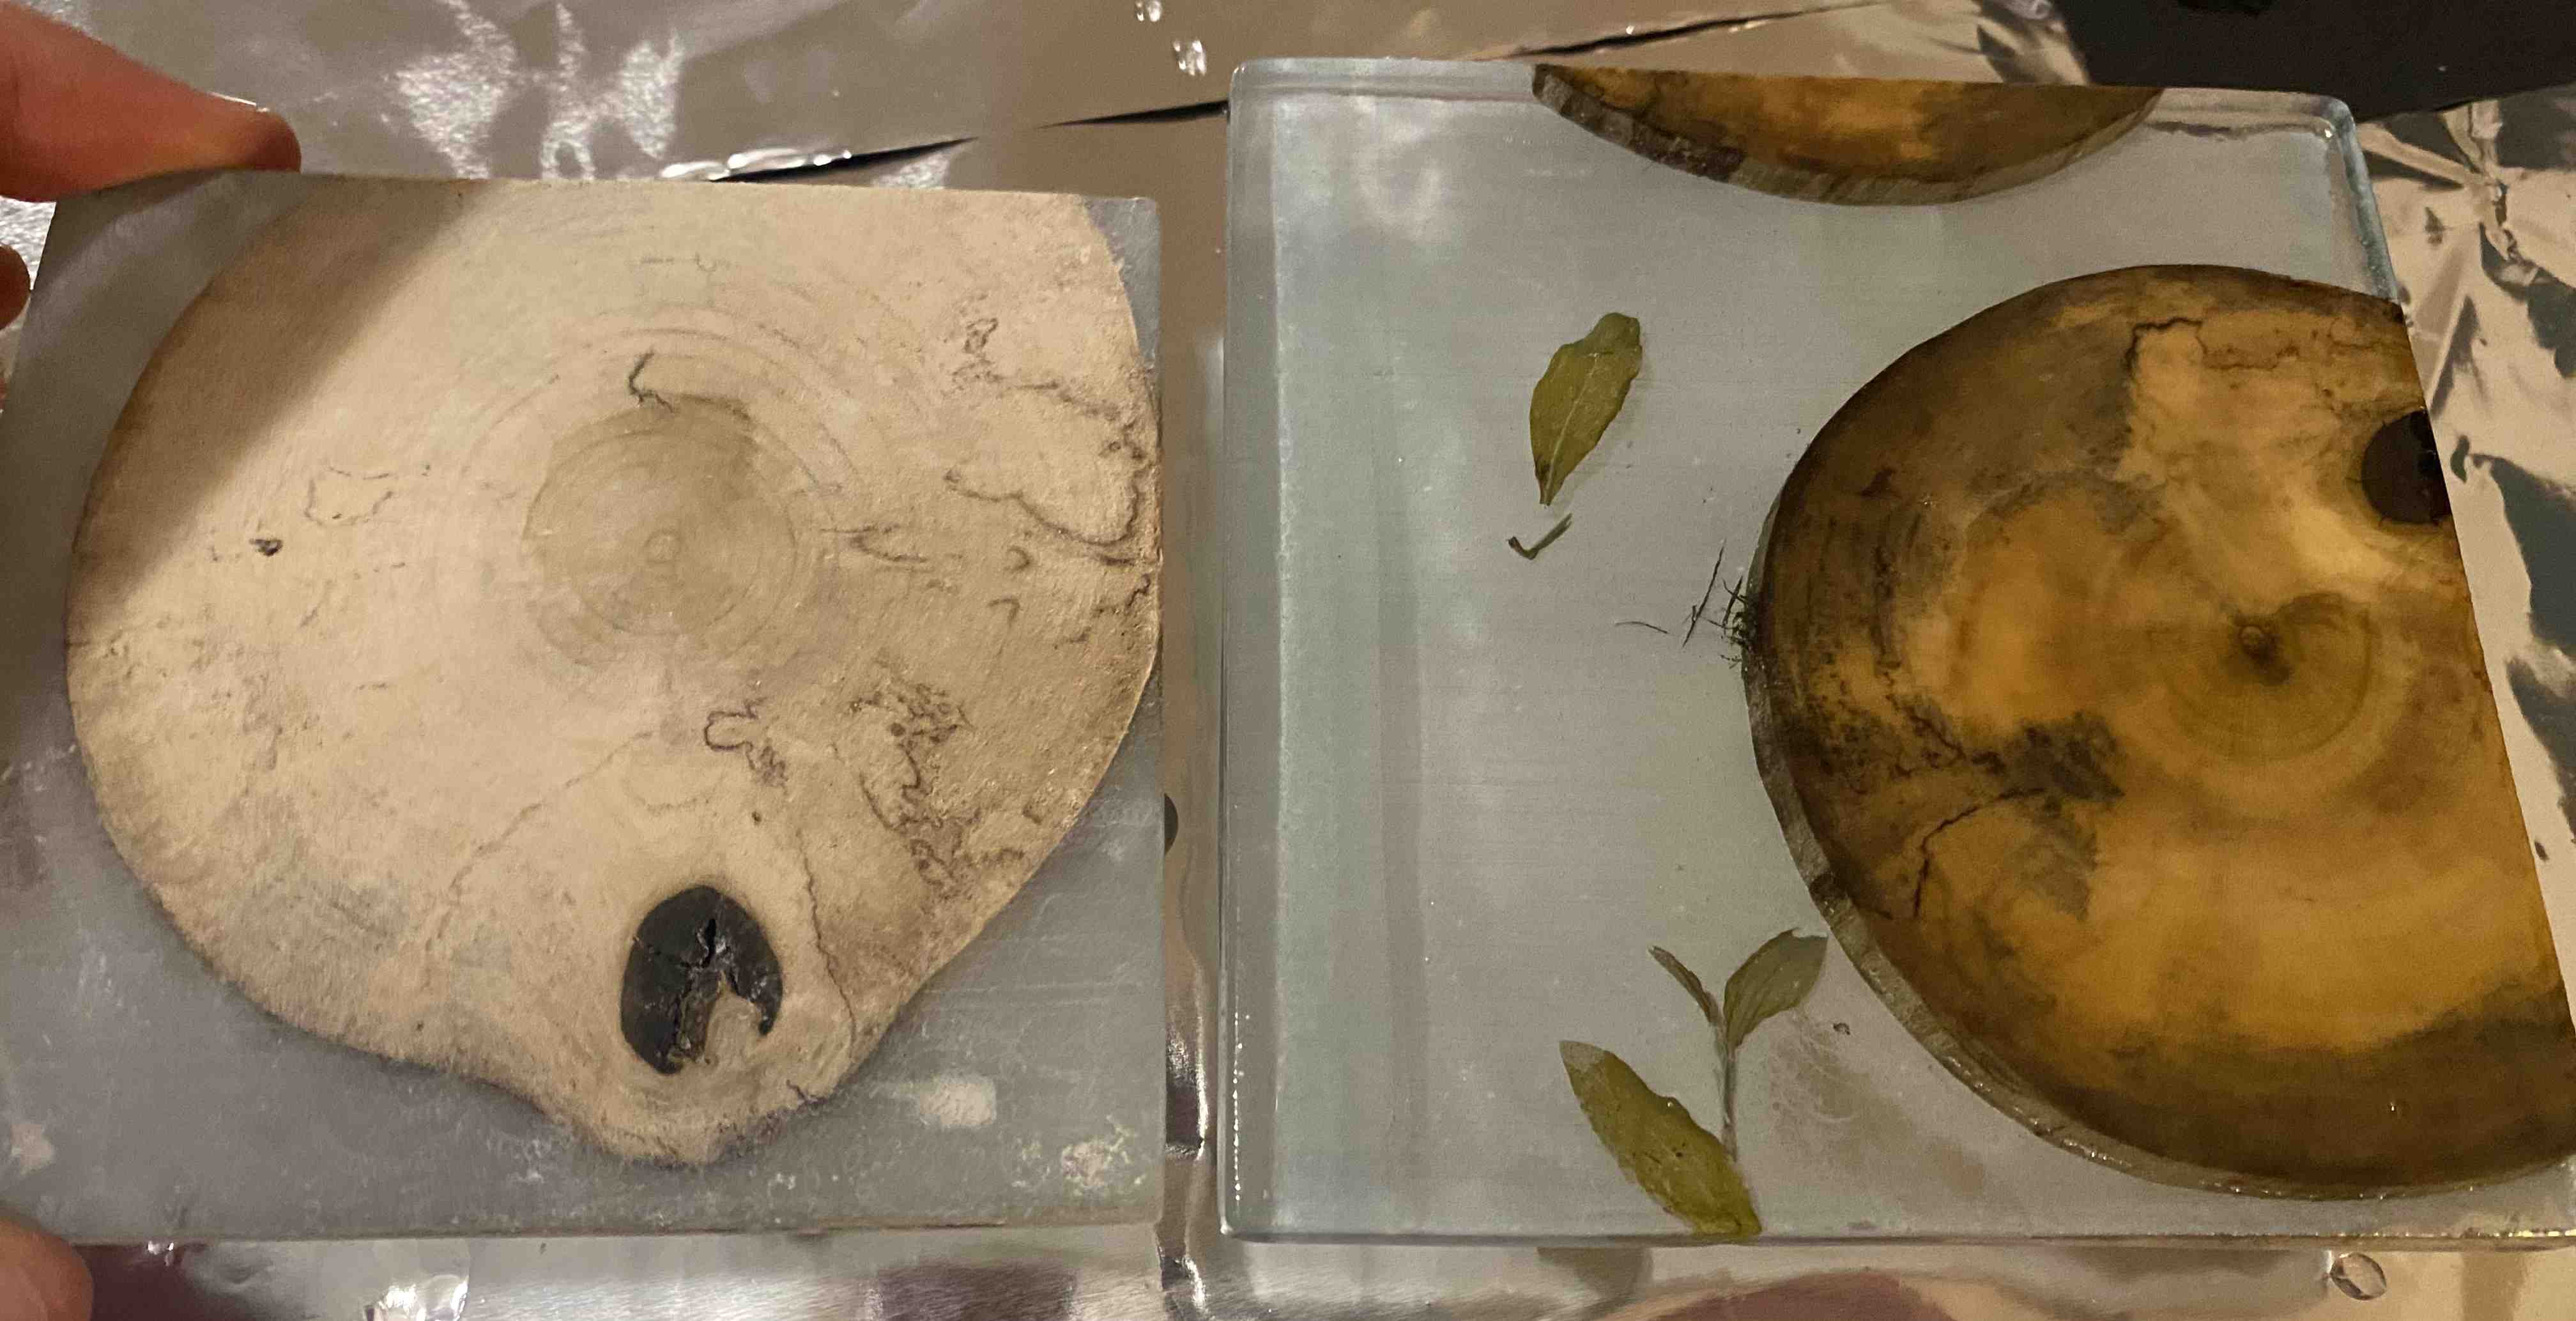
Still, it’s super gratifying to see how the grain in the wood is made visible by the epoxy. This picture shows without (left) and with (right) epoxy. What a difference!
Here’s a GIF of me “painting” on the epoxy. Notice how the log gets a nice rich color pretty immediately after applying the epoxy.
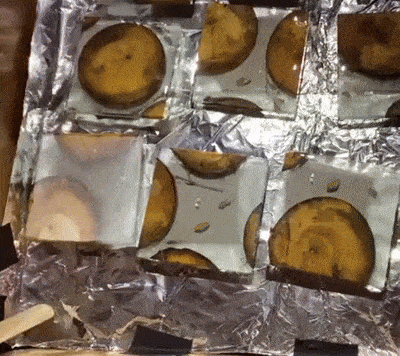
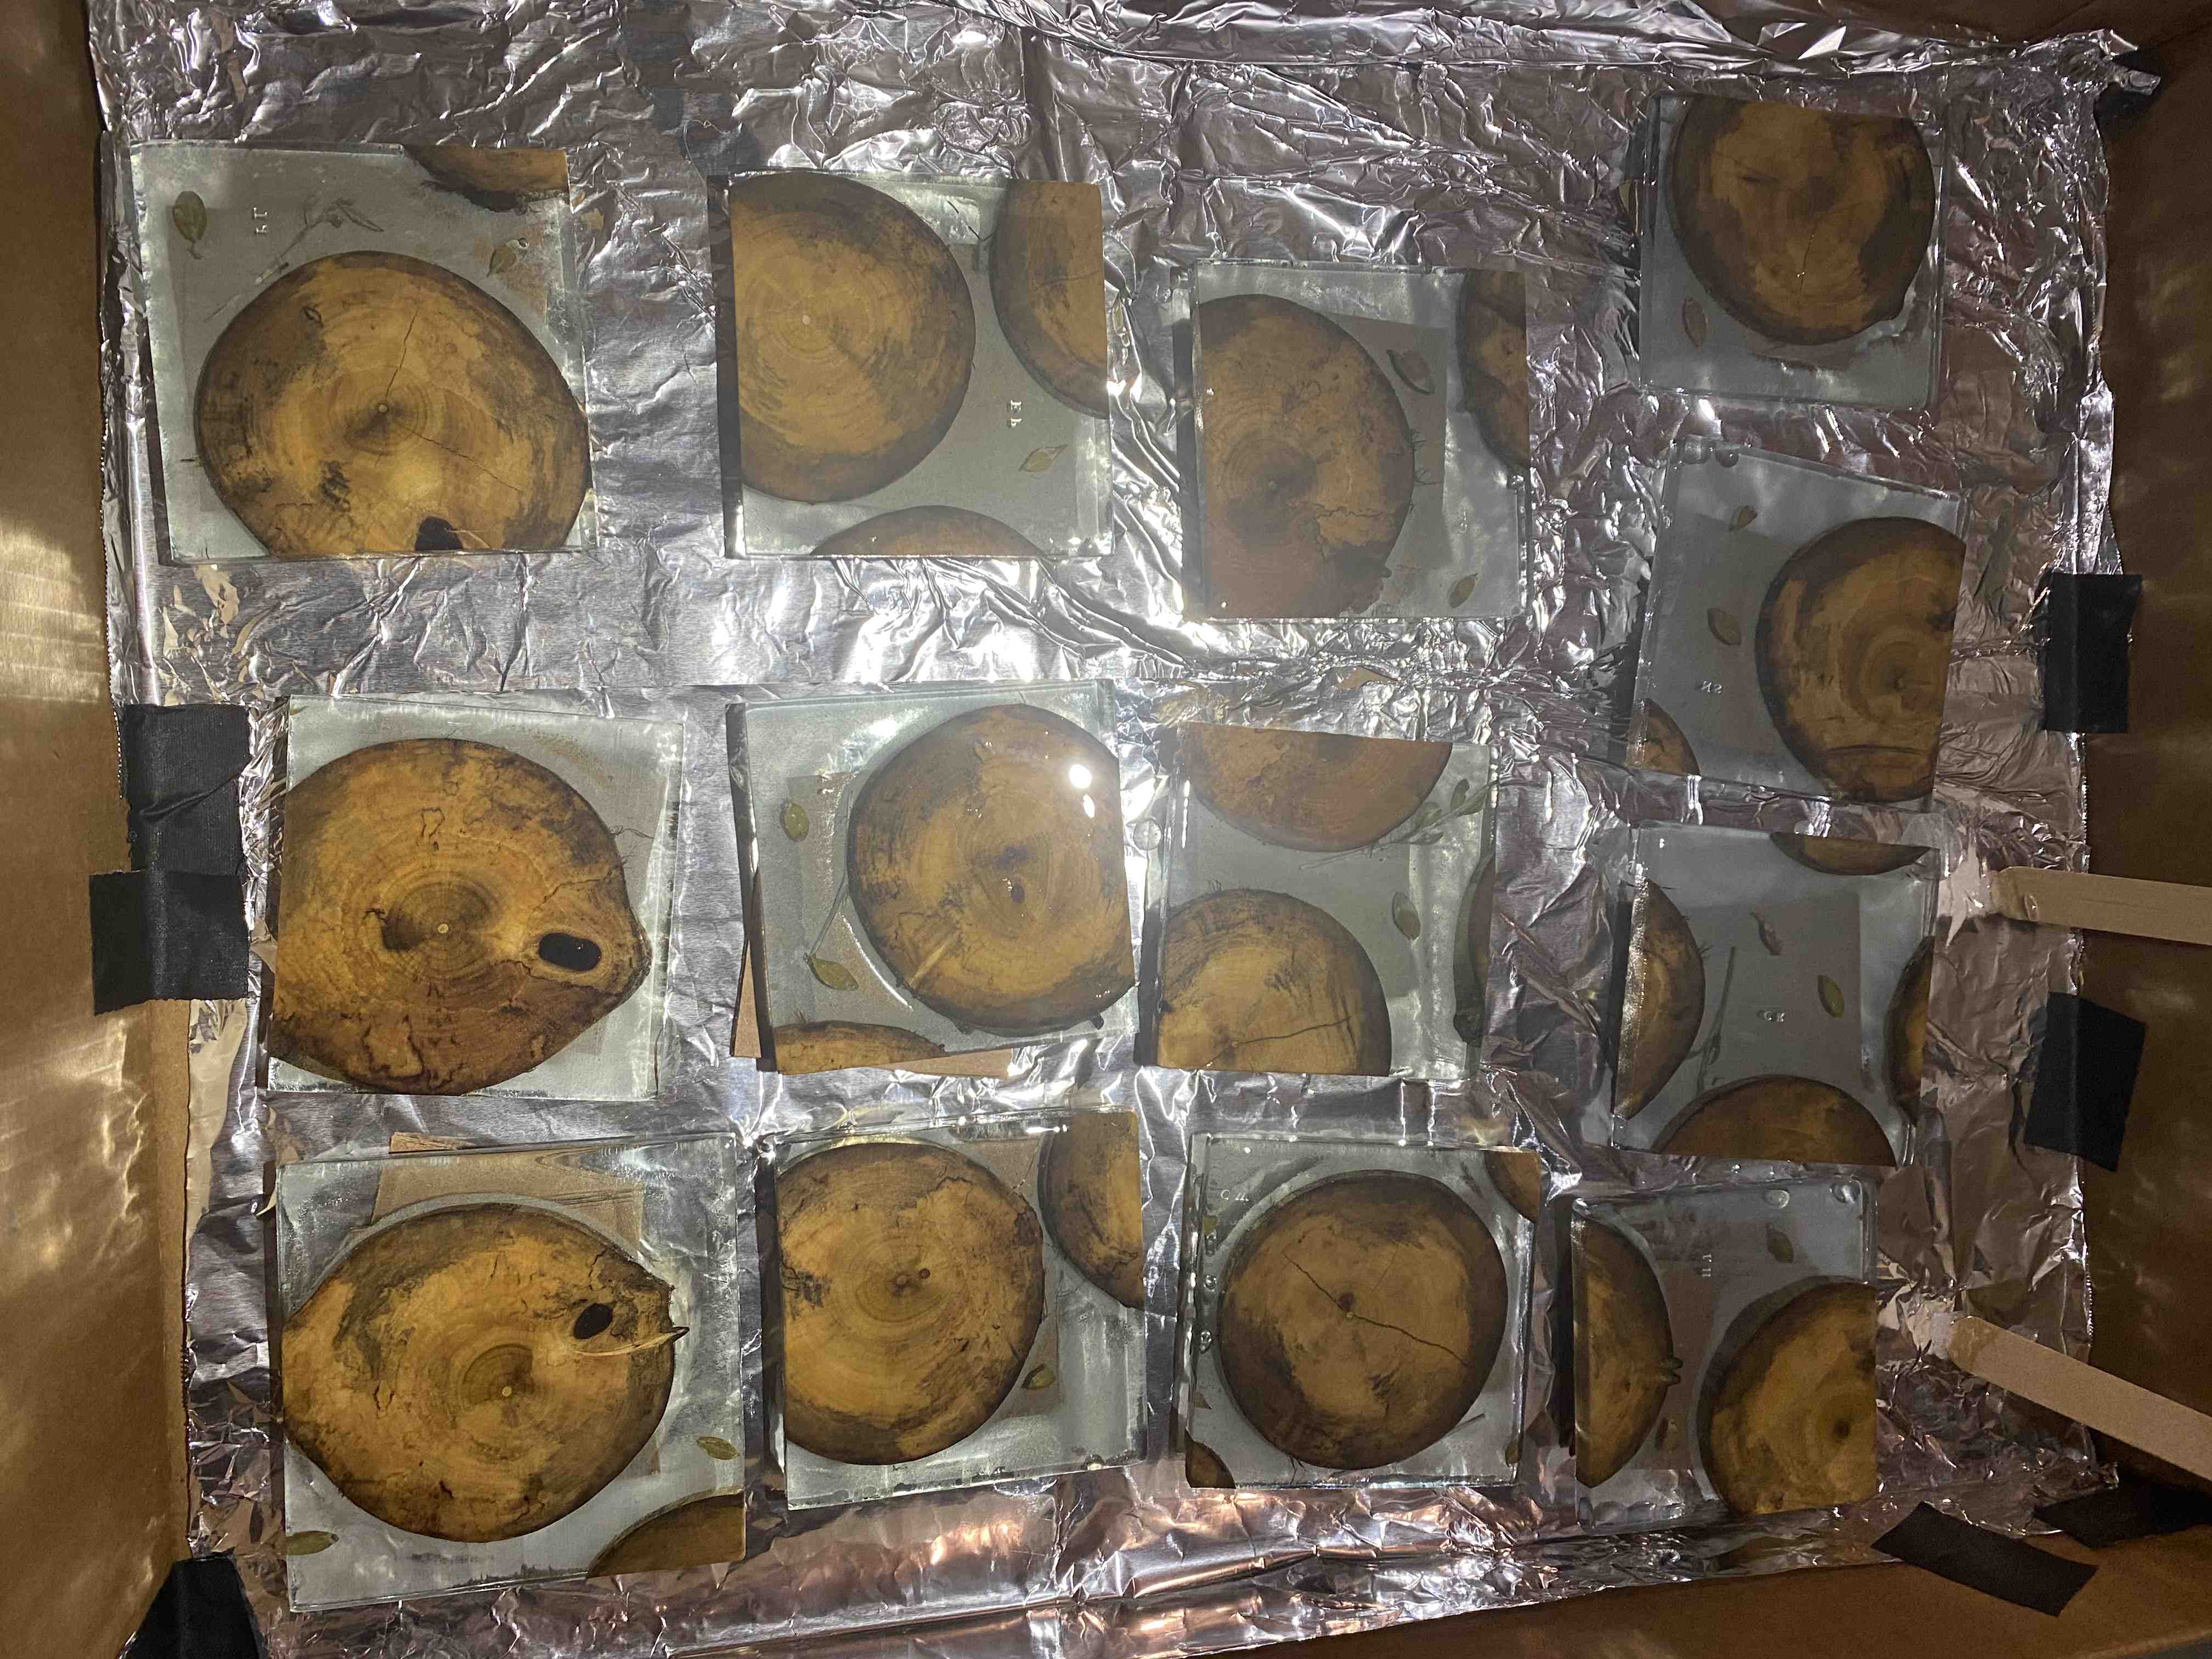
Finally, this is what they all looked like after adding the epoxy. The tin foil was to prevent things from catching fire when I used the bupane lighter to get rid of bubbles.
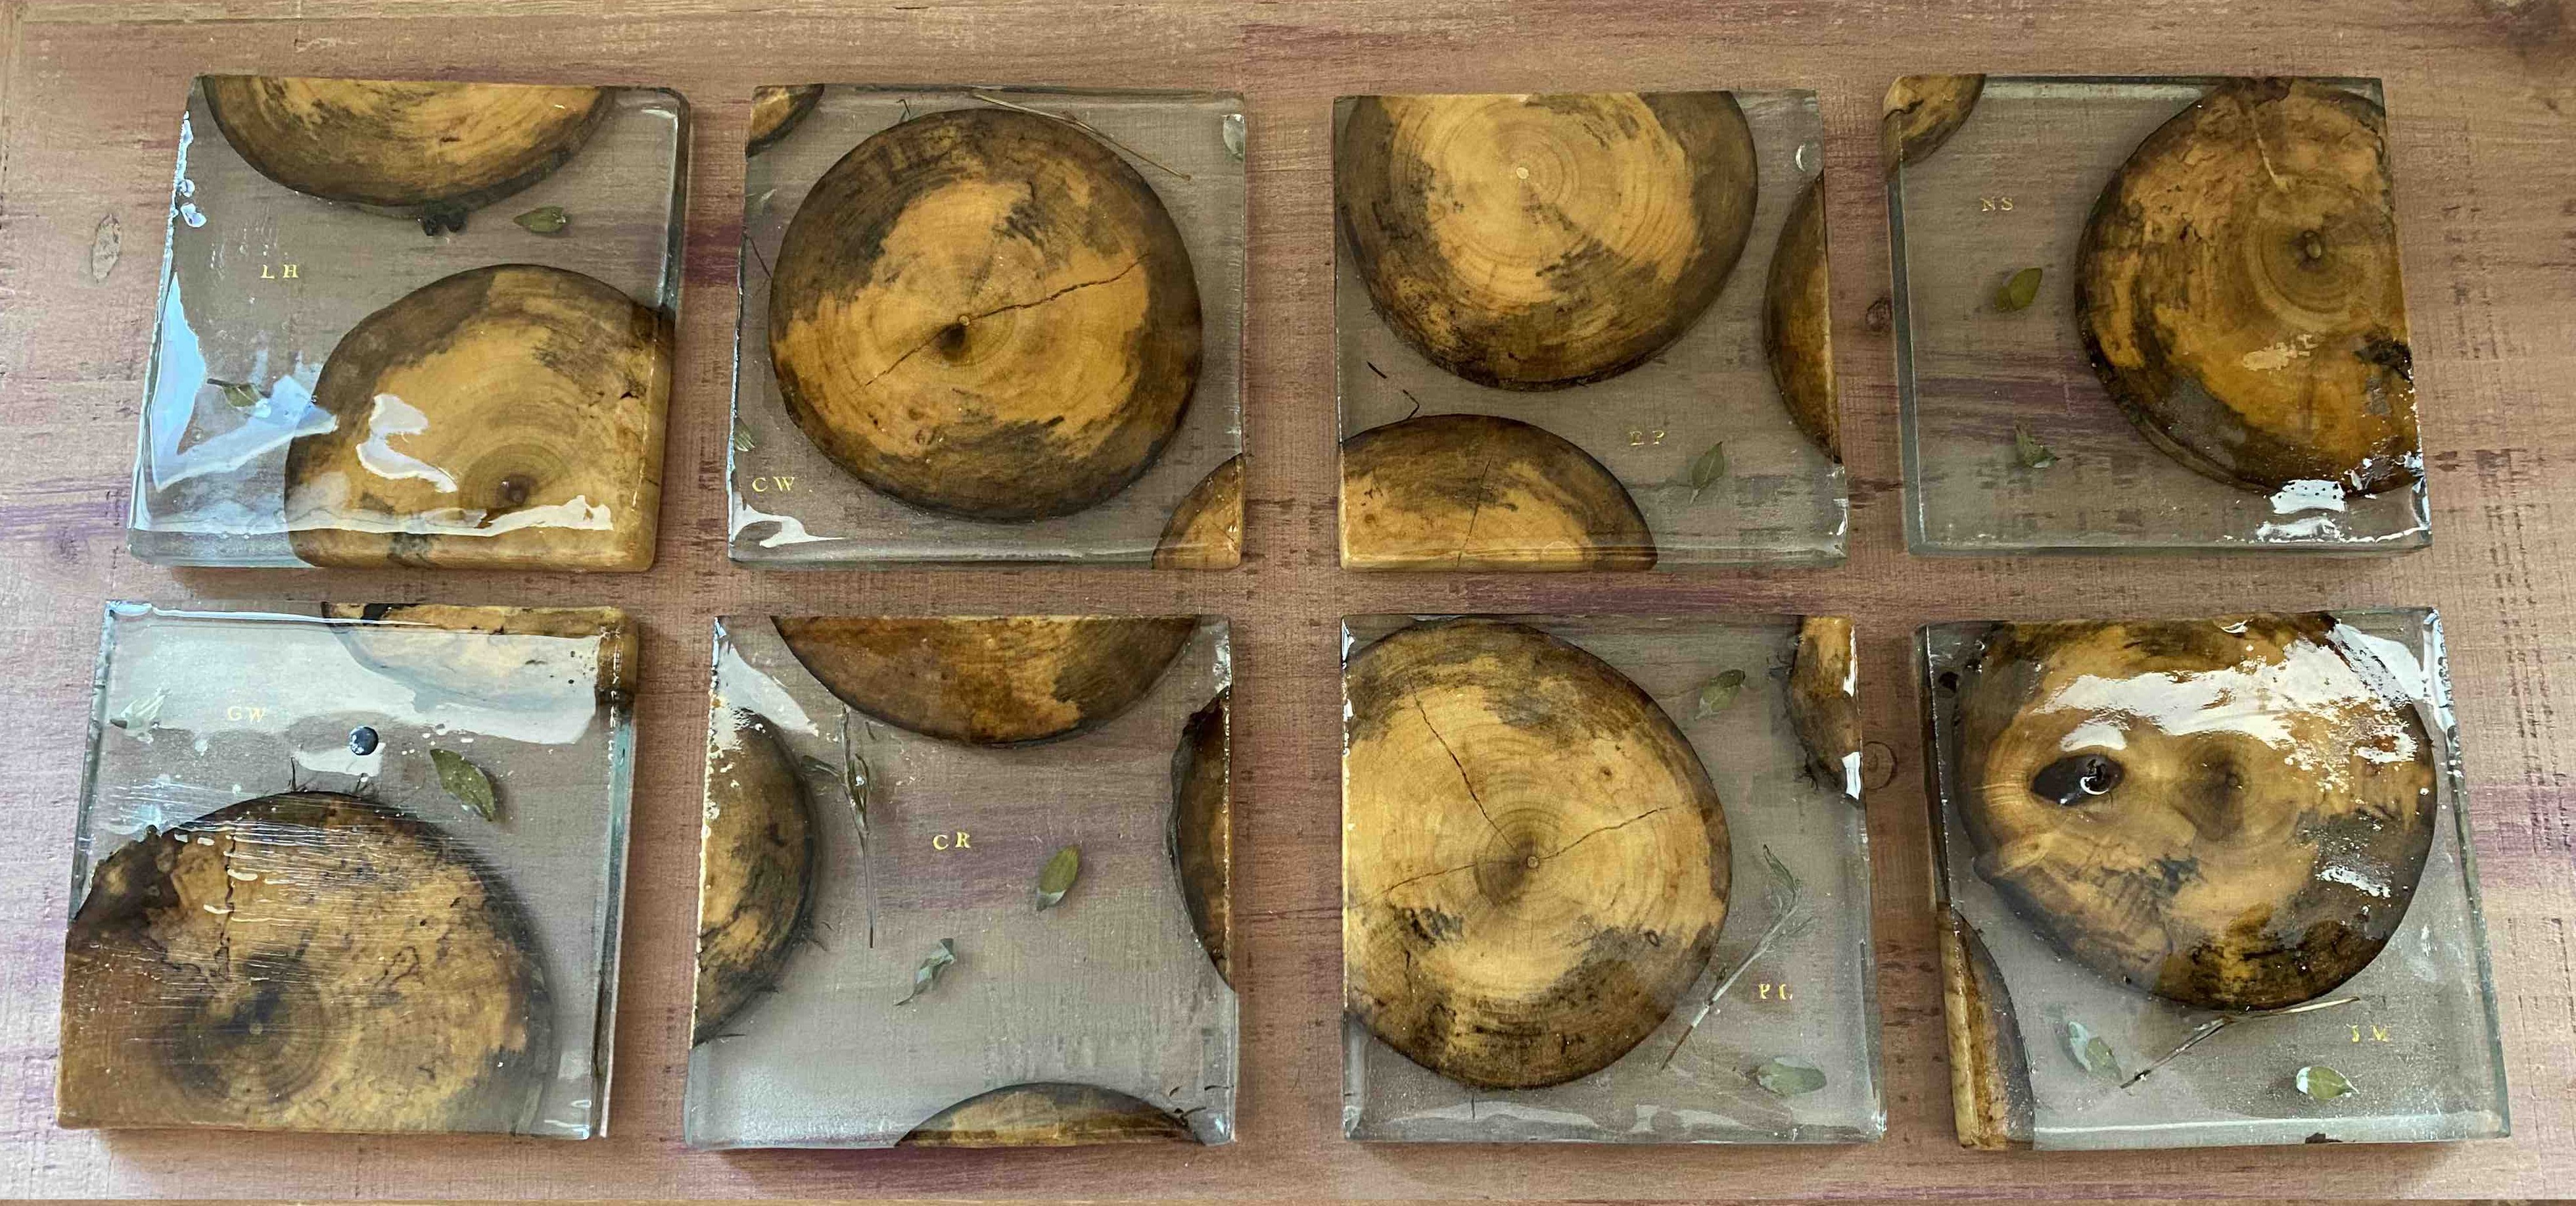
The final product
The final product looks like this! Again, these are way wonkier than I was hoping for, but I think they came out fairly nicely. At any rate, I’m hoping “it’s the thought that counts” applies here ![]() . Thank you again for your help!
. Thank you again for your help!